Delicious Dairy-Free Pesto Recipe – Easy & Flavorful
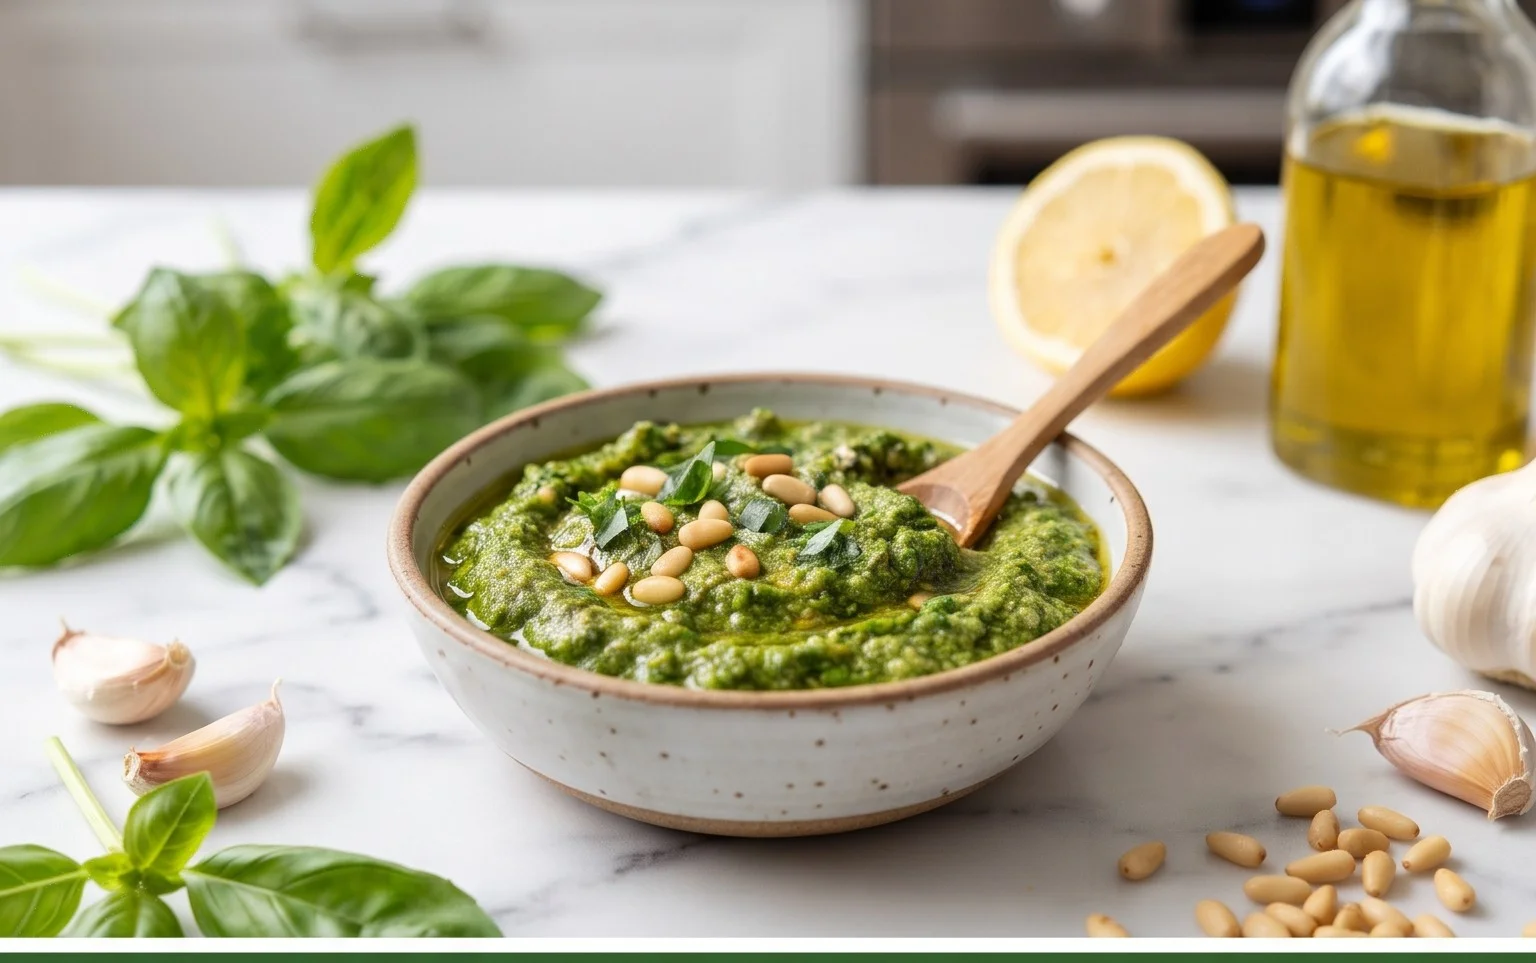
Dairy Free Pesto is a revelation, a vibrant explosion of fresh, herbaceous flavor that can transform any meal into something extraordinary. For years, I’ve adored classic pesto, but the challenge of finding a truly satisfying dairy-free version always seemed a bit daunting. Yet, the aroma of basil, the nutty bite of pine nuts, and the zesty punch of garlic are simply too good to miss out on. This isn’t just about avoiding dairy; it’s about unlocking the pure essence of these incredible ingredients. What makes this particular dairy-free pesto so special is its incredible versatility and how it manages to capture that authentic, comforting taste we all crave, without any of the dairy. It’s the perfect way to add a burst of sunshine to pasta, a delightful spread for sandwiches, or even a zesty marinade for grilled vegetables. Get ready to fall in love with this incredible dairy-free pesto all over again!
Dairy Free Pesto
Making your own pesto is one of the most rewarding kitchen endeavors. Not only is it incredibly fresh and vibrant, but it’s also surprisingly simple to whip up. Traditional pesto relies on Parmesan cheese for its salty, umami kick and creamy texture. However, if you’re steering clear of dairy, whether due to an allergy, intolerance, or a dietary choice, you don’t have to miss out on this classic sauce! My dairy-free pesto recipe is just as delicious, bursting with herbaceous flavor, and incredibly versatile. It’s perfect tossed with pasta, spread on sandwiches, dolloped onto grilled vegetables, or even used as a flavorful base for pizzas.
The beauty of this dairy-free version lies in its simplicity and the quality of its ingredients. We’re going to harness the power of nutritional yeast to provide that savory, cheesy depth without any dairy at all. If you’re new to nutritional yeast, don’t be intimidated! It’s a deactivated yeast that has a nutty, cheesy flavor profile and is often used in vegan cooking to mimic the taste of cheese. Don’t worry, it’s absolutely delicious and doesn’t taste like bread yeast. The combination of fresh basil, bright lemon, crunchy pine nuts, pungent garlic, and good quality olive oil creates a symphony of flavors that will elevate any dish.
Let’s get started on making this delightful dairy-free pesto!
Ingredients:
Preparation and Mixing
This recipe comes together in just a few minutes, especially if you have a food processor or a powerful blender. The key is to get a good texture – not too chunky, but not so smooth that it becomes a paste. We want a slightly rustic, homemade feel. If you don’t have a food processor, a mortar and pestle will also work, though it will require a bit more elbow grease and time.
Step-by-Step Instructions:
1. Begin extract by preparing your basil. Make sure your basil leaves are thoroughly washed and dried. Any excess water can make your pesto watery and dilute the flavors. You can gently pat them dry with paper towels or use a salad spinner. Remove any thick stems that might be fibrous; we only want the tender leaves.
2. Next, we’ll focus on the nuts. If you’re using pine nuts, you can toast them lightly in a dry skillet over medium heat for a few minutes until they are fragrant and just begin extractning to turn golden. This step is optional but highly recommended as toasting brings out their nutty flavor and adds a delightful crunch. Keep a close eye on them, as they can burn quickly! If using walnuts or pumpkin seeds, toasting is also a great idea. Allow them to cool completely before proceeding.
3. In the bowl of your food processor, combine the toasted pine nuts (or your chosen nut/seed), peeled garlic cloves, and the salt. Pulse these ingredients a few times until they are roughly chopped and broken down. This helps to create a good base for the pesto and ensures the garlic and nuts are well distributed.
4. Now, add the packed basil leaves to the food processor. Begin extract to pulse again. You want to process the basil until it’s finely chopped but not completely puréed. Scrape down the sides of the food processor bowl as needed to ensure all the basil is incorporated. The mixture will start to turn a vibrant green.
5. With the food processor running on a low speed, slowly drizzle in the extra virgin extract olive oil. Continue to process until the pesto reaches your desired consistency. Some people prefer a slightly chunkier pesto, while others like it smoother. For a thicker pesto, use a bit less olive oil; for a thinner, more saucy pesto, you can add a little more, or even a tablespoon of water if needed, though the olive oil is the primary liquid. Finally, add the fresh lemon juice and the nutritional yeast (if using). Pulse a few more times to combine everything thoroughly. Taste and adjust seasoning with more salt or a squeeze of lemon juice if necessary.
Enjoy your delicious, homemade dairy-free pesto! It can be stored in an airtight container in the refrigerator for up to a week. A thin layer of olive oil drizzled over the top before storing can help prevent browning. You can also freeze pesto in ice cube trays for convenient single-serving portions that will last for several months.
Conclusion:
So there you have it – a wonderfully vibrant and incredibly delicious dairy free pesto recipe that proves you don’t need cheese to achieve that classic, herbaceous flavor! This recipe is a game-changer for anyone with dairy sensitivities, vegans, or simply those looking to explore new culinary horizons. It’s remarkably easy to whip up, and the fresh, zesty notes of basil, garlic, and pine nuts are truly satisfying. I truly encourage you to give this dairy free pesto a try; I’m confident it will become a staple in your kitchen.
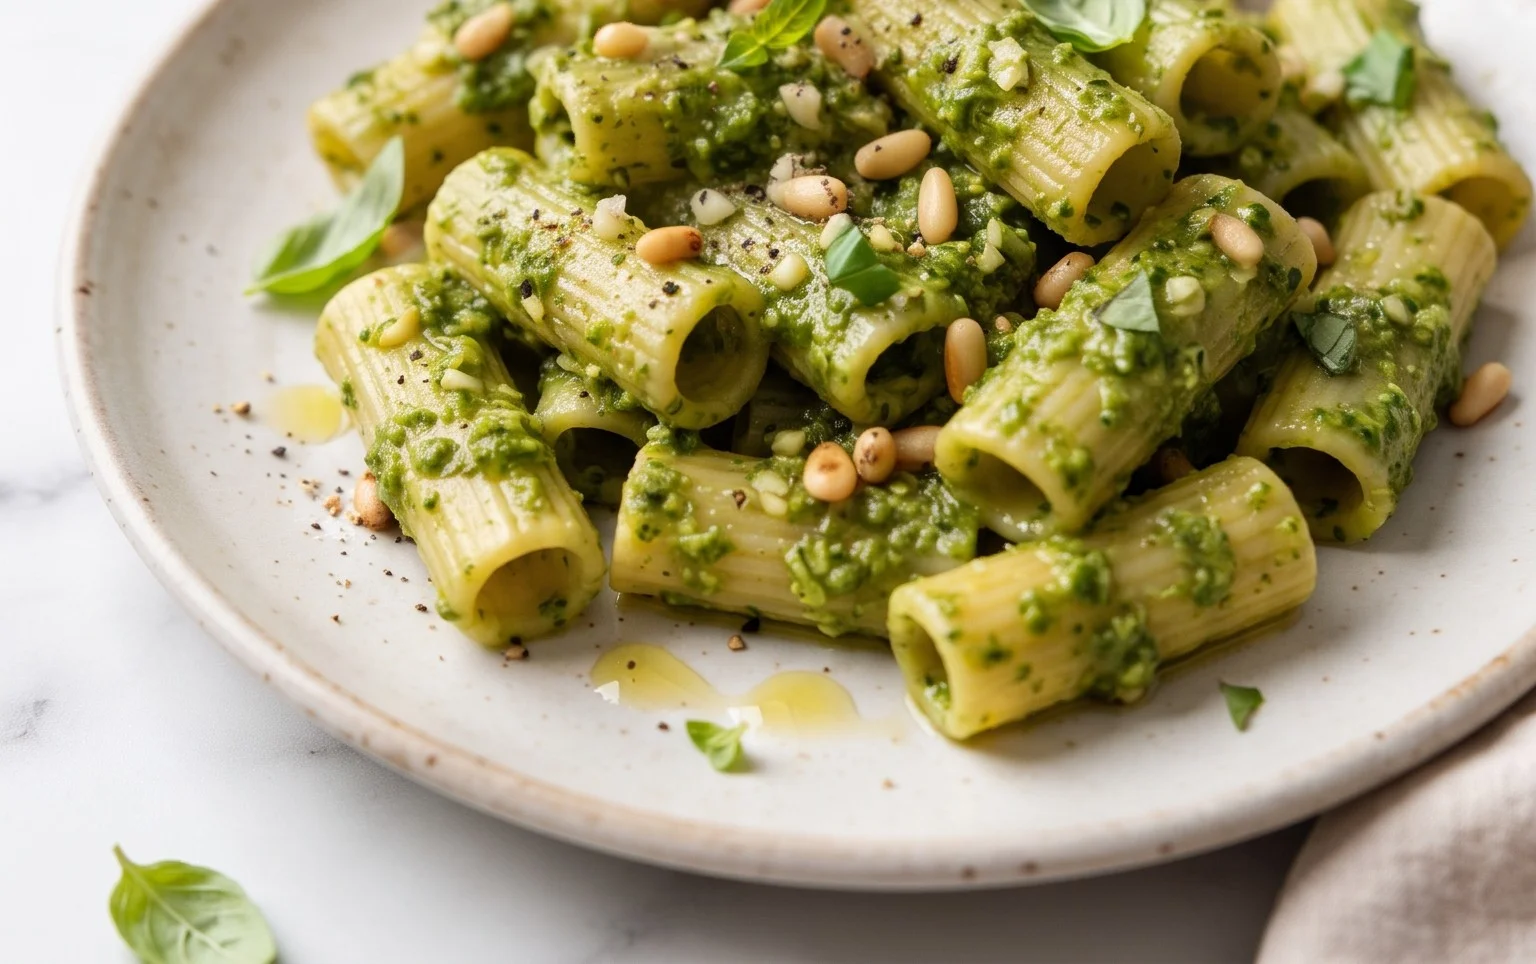
The versatility of this dairy free pesto is where it truly shines. Toss it with your favorite pasta for an instant meal, spread it on sandwiches or crostini for a flavorful appetizer, or drizzle it over grilled vegetables and proteins for a burst of freshness. Feeling adventurous? You can experiment with different nuts like walnuts or almonds, or even add a pinch of red pepper flakes for a touch of heat. The possibilities are truly endless!
Frequently Asked Questions:
How long does this dairy free pesto last?
Stored in an airtight container in the refrigerator and covered with a thin layer of olive oil to prevent oxidation, this dairy free pesto should stay fresh for about 4-5 days. The oil acts as a natural preservative and keeps the basil from browning.
Can I freeze this dairy free pesto?
Absolutely! Freezing is a fantastic way to enjoy this dairy free pesto all year round. You can portion it into ice cube trays and freeze them, then transfer the frozen cubes to a freezer-safe bag for easy use. Alternatively, you can freeze it in larger portions in freezer-safe containers. It should retain its flavor and texture for up to 3-4 months.
What can I use instead of pine nuts?
If pine nuts are unavailable or you have an allergy, you have several excellent alternatives. Toasted walnuts are a popular and delicious substitute, offering a slightly richer flavor. Blanched almonds or even sunflower seeds can also work well, providing a nice texture and nuttiness without overpowering the basil.
Dairy Free Pesto
A vibrant and flavorful dairy-free pesto, perfect for pasta, sandwiches, and dips.
Ingredients
-
3 cups basil
-
1/2 lemon (juiced)
-
1/2 cup pine nuts
-
2 cloves garlic
-
1/4 cup olive oil
-
1/2 tsp salt
-
2 tbsp nutritional yeast
Instructions
-
Step 1
In a food processor, combine basil, pine nuts, garlic, lemon juice, salt, and nutritional yeast. -
Step 2
Pulse until the ingredients are roughly chopped. -
Step 3
With the food processor running, slowly drizzle in the olive oil until the pesto is smooth and well combined. -
Step 4
Taste and adjust seasoning if needed. -
Step 5
Use immediately or store in an airtight container in the refrigerator for up to a week.
Important Information
Nutrition Facts (Per Serving)
It is important to consider this information as approximate and not to use it as definitive health advice.
Allergy Information
Please check ingredients for potential allergens and consult a health professional if in doubt.