Vegan Chickpea Brownies – Flourless & Gluten Free
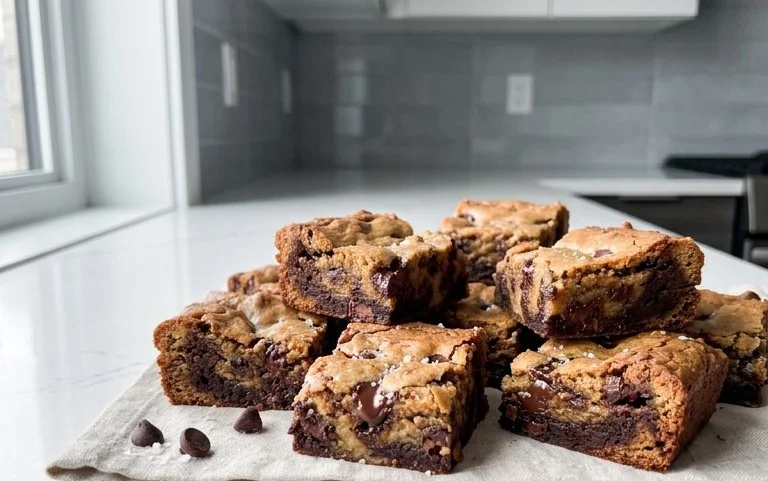
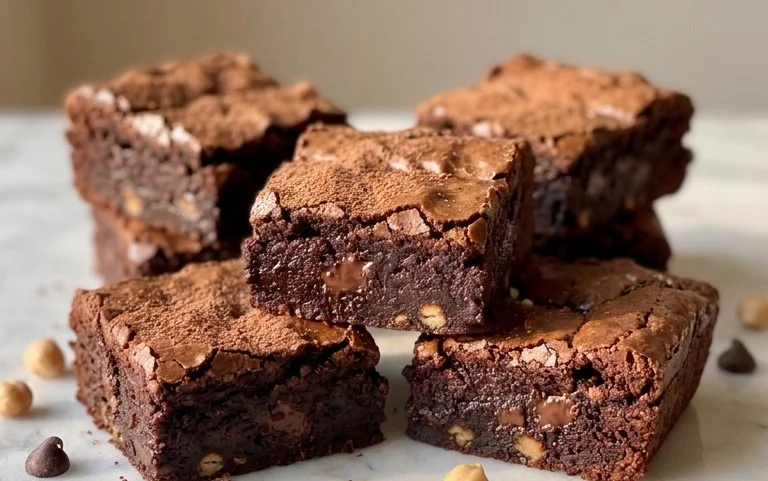
Flourless Chickpea Brownies (Vegan & Gluten Free) are about to revolutionize your dessert game. If you’ve ever craved that fudgy, decadent chocolate fix but found yourself battling dietary restrictions or simply looking for a healthier indulgence, then you’ve landed in the right place. Forget everything you thought you knew about brownies because these are an absolute revelation. People adore these Flourless Chickpea Brownies for their incredibly rich, chewy texture that’s virtually indistinguishable from traditional, flour-laden versions. What makes them truly special is the secret ingredient: chickpeas! Don’t let that surprise you; they provide a wonderful moistness and structure without any discernible bean flavor, making these Flourless Chickpea Brownies a delightful paradox of wholesome goodness and pure chocolate bliss. Get ready to surprise yourself and your loved ones with this guilt-free delight!
Flourless Chickpea Brownies (Vegan & Gluten Free)
Get ready to experience the fudgy, chocolatey goodness you crave without any of the gluten or dairy! These flourless chickpea brownies are a revelation. Seriously, I was skeptical too. Brownies made from chickpeas? But trust me, the chickpeas provide an incredible moistness and a subtle earthiness that perfectly complements the rich chocolate. Plus, they’re packed with plant-based protein and fiber, making them a surprisingly satisfying treat. Whether you’re vegan, gluten-free, or just looking for a healthier brownie option, these are about to become your new go-to. They’re incredibly easy to make, requiring just one bowl (or blender, if you prefer!) and a few simple ingredients. Let’s dive in!
Ingredients:
Getting Started: Preparing Your Brownie Batter
The magic of these brownies lies in their simplicity and the power of a good food processor or blender. First things first, make sure your chickpeas are thoroughly rinsed and drained. This is crucial to avoid any residual “canned” flavor. Give them a good pat dry with a paper towel as well. The drier they are, the smoother your batter will be.
Now, grab your food processor or high-powered blender. Add the rinsed and drained chickpeas to the machine. You’ll want to process these until they are as smooth as possible. Scrape down the sides a few times to ensure no chickpea lumps remain. The goal here is to create a creamy, paste-like consistency, similar to how you’d want hummus to be, but a bit thicker.
Next, add the almond butter (or your chosen nut/seed butter) to the food processor. This adds richness and helps bind everything together. Follow this with the pure maple syrup, which acts as your sweetener and also contributes to the brownie’s moist texture. Pour in the vanilla extract. This is where the flavor really starts to come alive.
Now it’s time for the dry ingredients. Add the baking powder, baking soda, and sea salt to the mixture. These leavening agents are essential for giving your brownies a slight lift and a tender crum extractb, even without flour. Finally, add the unsweetened cocoa powder. The more cocoa powder you add, the richer and more intense the chocolate flavor will be.
Blending to Perfection
Once all the ingredients are in the food processor, it’s time to blend everything together until it’s completely smooth and well combined. This might take a few minutes, depending on the power of your machine. Again, scrape down the sides periodically to make sure all the ingredients are incorporated. The batter should be thick, fudgy, and a beautiful chocolatey brown color. You’re looking for a consistency that’s pourable but not watery. If it seems a little too thick, you can add a tablespoon of water or plant-based milk at a time and blend again until you reach your desired consistency. If it seems too thin, you can add a touch more cocoa powder or a few more chocolate chips.
Folding in the Chocolatey Goodness
After you’ve achieved a perfectly smooth batter, it’s time for the best part: the chocolate chips! Reserve about ¼ cup of the mini chocolate chips for sprinkling on top later, if you desire. Add the remaining ¾ cup of mini chocolate chips to the batter in the food processor. Pulse the machine just a few times – you don’t want to completely pulverize the chocolate chips. The goal is to distribute them throughout the batter, creating delightful pockets of melted chocolate in every bite. Some people prefer to fold these in by hand using a spatula after removing the batter from the food processor. This gives you more control over the chip distribution and ensures you don’t overmix.
Baking Your Fudgy Brownies
Preheat your oven to 350°F (175°C). Line an 8×8 inch baking pan with parchment paper, leaving some overhang on the sides. This makes it super easy to lift the brownies out of the pan once they’re baked. Pour the brownie batter into the prepared pan and spread it evenly with a spatula. If you reserved extra chocolate chips, sprinkle them over the top of the batter now. You can even press them in slightly.
Bake for 25-30 minutes, or until a toothpick inserted into the center comes out with moist crum extractbs attached, but not wet batter. Be careful not to overbake, as this can lead to dry brownies. The edges should look set, and the center might still seem a little soft. They will continue to set as they cool.
Cooling and Enjoying
This is arguably the hardest part: letting them cool! Allow the brownies to cool completely in the pan on a wire rack. This is crucial for them to firm up properly and achieve that perfect fudgy texture. Once cooled, use the parchment paper overhang to lift the entire brownie slab out of the pan. Cut them into squares and prepare for pure bliss. These flourless chickpea brownies are incredibly rich and satisfying, so a small piece goes a long way. They are delicious on their own, or you can serve them with a scoop of vegan ice cream or a dusting of powdered sugar. Enjoy your guilt-free, incredibly delicious chocolatey creation!
Conclusion:
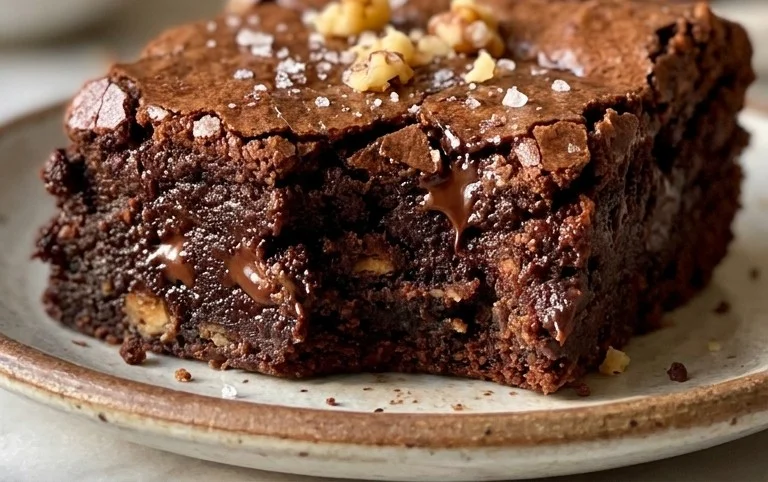
These flourless chickpea brownies are truly a game-changer for anyone seeking a decadent yet wholesome dessert! Their rich, fudgy texture and intense chocolate flavor, achieved without traditional flour or animal products, make them an absolute triumph. The humble chickpea, when blended with simple pantry staples, transforms into the most delightful base for a brownie that satisfies every craving. I’m so excited for you to experience how incredibly delicious and surprisingly easy these are to make. They’re perfect for satisfying that sweet tooth while staying true to vegan and gluten-free lifestyles.
Serve them warm, perhaps with a scoop of your favorite vegan vanilla ice cream or a sprinkle of fresh berries for a burst of freshness. They also hold up beautifully as a portable treat for picnics or potlucks. Feel free to get creative with variations! Consider adding a handful of vegan chocolate chips for extra gooeyness, a swirl of vegan peanut butter, or even a pinch of cinnamon for a warm spice note. I truly encourage you to give these flourless chickpea brownies a try; you might just find your new go-to chocolate indulgence!
FAQs:
Can I taste the chickpeas in these brownies?
Absolutely not! This is one of the most magical aspects of this recipe. When blended smooth and baked with rich cocoa and sweetener, the chickpeas lend a wonderful fudgy texture and moisture without imparting any discernible bean flavor. They act as a fantastic binder and provide that satisfying chew.
How should I store these brownies?
You can store these delicious flourless chickpea brownies in an airtight container at room temperature for up to 3 days. For longer storage, they keep wonderfully in the refrigerator for up to a week, or they can be frozen for up to 2 months. Simply thaw them at room temperature before enjoying.
What if I don’t have maple syrup?
If maple syrup isn’t available, you can substitute it with another liquid sweetener like agave nectar or date syrup. Ensure the sweetener is liquid to maintain the correct consistency of the brownie batter. Adjust the sweetness slightly to your personal preference.
Flourless Chickpea Brownies (Vegan & Gluten Free)
Deliciously fudgy and rich vegan and gluten-free brownies made with chickpeas. A healthy and satisfying treat.
Ingredients
-
15.5 ounces chickpeas (1 can), rinsed and drained
-
½ cup almond butter
-
½ cup pure maple syrup
-
1 tablespoon vanilla extract
-
½ teaspoon baking powder
-
½ teaspoon baking soda
-
½ teaspoon sea salt
-
⅓ cup cocoa powder
-
¾ cup vegan mini chocolate chips
Instructions
-
Step 1
Preheat your oven to 350°F (175°C). Grease and line an 8×8 inch baking pan with parchment paper. -
Step 2
In a food processor, combine the rinsed and drained chickpeas, almond butter, maple syrup, and vanilla extract. Process until smooth and creamy. -
Step 3
Add the baking powder, baking soda, sea salt, and cocoa powder to the food processor. Process again until just combined. -
Step 4
Gently fold in the vegan mini chocolate chips. -
Step 5
Pour the batter into the prepared baking pan and spread evenly. -
Step 6
Bake for 25-30 minutes, or until a toothpick inserted into the center comes out with moist crumbs (not wet batter). -
Step 7
Let the brownies cool completely in the pan before slicing and serving.
Important Information
Nutrition Facts (Per Serving)
It is important to consider this information as approximate and not to use it as definitive health advice.
Allergy Information
Please check ingredients for potential allergens and consult a health professional if in doubt.