Easy Homemade Strawberry Ice Cream Recipe
Homemade strawberry ice cream is more than just a dessert; it’s a vibrant burst of pure summer joy captured in a creamy, dreamy swirl. There’s something undeniably magical about the first spoonful of perfectly ripe strawberries, transformed into a velvety frozen treat that melts on your tongue. We all have those childhood memories tied to ice cream parlors, but nothing quite compares to the authentic flavor you can achieve in your own kitchen. This homemade strawberry ice cream recipe allows you to control every ingredient, ensuring a delightful balance of sweetness and that unmistakable fresh strawberry essence. Forget artificial flavors and stabilizers; we’re talking about the real deal – luscious, naturally sweet, and unbelievably easy to make. Get ready to elevate your dessert game with this incredible homemade strawberry ice cream that will have everyone beggin extractg for more.
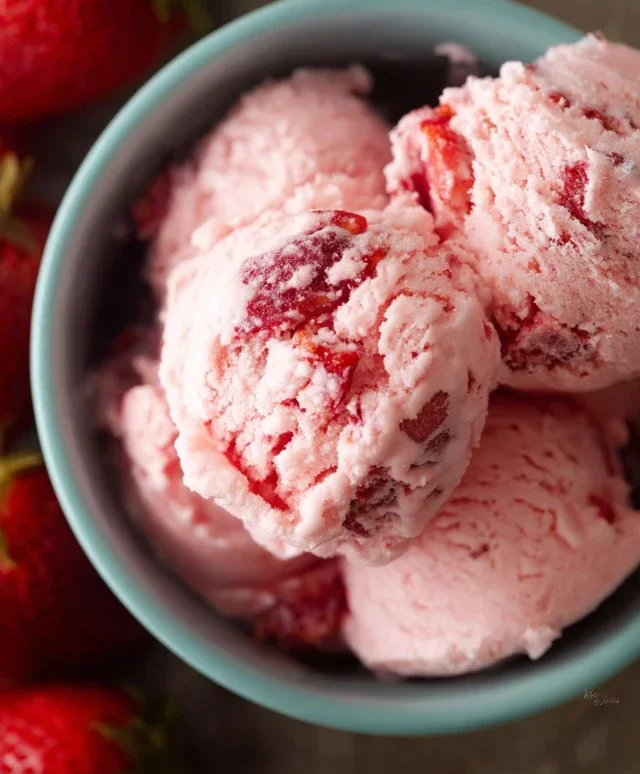
Homemade Strawberry Ice Cream
There’s nothing quite like the vibrant, sweet, and slightly tart flavor of fresh strawberries, especially when transformed into luscious homemade ice cream. Forget those artificial flavors and icy textures; this recipe is all about capturing the pure essence of summer in every creamy scoop. Making your own strawberry ice cream might seem daunting, but with just a few simple ingredients and a little patience, you’ll be enjoying a truly decadent treat that rivals any store-bought option. The beauty of this recipe lies in its simplicity, allowing the natural sweetness and aroma of the strawberries to truly shine. We’re not overcomplicating things here; we’re focusing on creating a rich, smooth, and incredibly satisfying dessert.
The key to a fantastic strawberry ice cream is using ripe, flavorful strawberries. They are the star of the show, and their quality will directly impact the final product. Don’t be afraid to use slightly overripe berries for this recipe, as their sweetness and flavor will be even more concentrated. We’re also going to be mashing them, which further enhances their deliciousness.
Ingredients:
Preparing the Strawberry Base
The first step in creating our delightful ice cream is to prepare the star ingredient: the strawberries. In a medium bowl, combine the hulled and diced strawberries with the honey, granulated sugar, and lemon juice. The honey adds a lovely nuanced sweetness that complements the strawberries beautifully, while the granulated sugar provides the structure and sweetness we need for a classic ice cream. The lemon juice might seem counterintuitive, but it actually acts as a flavor enhancer, brightening the strawberry flavor and cutting through the richness of the cream, preventing the ice cream from tasting overly sweet or cloying.
Gently mash the strawberries with a fork or potato masher until they are broken down into a chunky puree. You don’t need to aim for a completely smooth consistency; some small pieces of strawberry will add wonderful texture and visual appeal to your finished ice cream. This mashing process releases the juices and intensifies the strawberry flavor. Cover the bowl and let this mixture sit for at least 30 minutes, or even up to an hour, at room temperature. This resting period allows the flavors to meld and the sugar to fully dissolve, creating a more concentrated and delicious strawberry base. You’ll notice the mixture will become more syrupy as the sugar draws out moisture from the berries.
Creating the Creamy Custard
While our strawberry mixture is doing its flavorful work, it’s time to prepare the creamy base. In a separate large bowl, whisk together the heavy whipping cream and the half and half. Heavy whipping cream is essential for that rich, decadent mouthfeel that defines great ice cream. Half and half provides a slightly lighter, yet still creamy, consistency. We’re aiming for a balance that’s neither too heavy nor too thin. Stir in the vanilla extract. Vanilla is a classic pairing with strawberries, and its subtle fragrance enhances the overall aroma and taste of the ice cream. Ensure everything is well combined.
Combining and Chilling
Once your strawberry mixture has had a good chance to macerate, it’s time to bring everything together. Gently fold the macerated strawberry mixture into the cream and half and half mixture. Don’t overmix at this stage; a few swirls of strawberry puree are perfectly fine and will create beautiful ribbons of color and flavor throughout your ice cream.
Now comes a crucial step for achieving the smoothest ice cream: chilling. Cover the bowl tightly with plastic wrap and refrigerate for at least 4 hours, or preferably overnight. This chilling period is absolutely essential. It ensures that the base is thoroughly cold, which is vital for proper churning and prevents ice crystals from forming. A well-chilled base will churn more efficiently and result in a creamier texture.
Churning the Ice Cream
This is where the magic happens! If you have an ice cream maker, follow the manufacturer’s instructions for churning. Typically, this involves pouring the chilled ice cream base into your pre-frozen ice cream maker bowl and churning until it reaches a soft-serve consistency. This usually takes about 20-30 minutes, depending on your machine. Keep a close eye on it; you don’t want to over-churn, which can lead to a tougher texture.
If you don’t have an ice cream maker, don’t despair! You can still achieve delicious results using a freezer-safe container and a bit of manual effort. Pour the chilled base into a shallow, freezer-safe container. Place it in the freezer. Every 30-45 minutes for the first 3-4 hours, remove the container from the freezer and vigorously stir and break up any ice crystals that have formed. This manual churning process helps to incorporate air and create a smoother texture.
Freezing and Enjoying
Once your ice cream has reached the desired soft-serve consistency, either from the ice cream maker or manual churning, it’s time to firm it up. Transfer the ice cream to an airtight container. For the best texture, press a piece of parchment paper or wax paper directly onto the surface of the ice cream before sealing the container. This helps to prevent ice crystals from forming on the top. Place the container in the freezer for at least 4-6 hours, or until it’s firm enough to scoop. The longer it freezes, the firmer it will become.
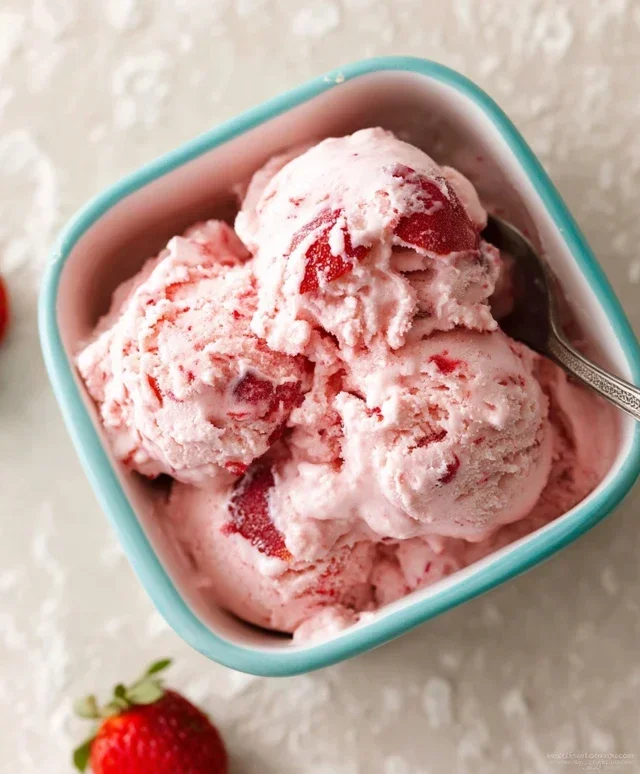
When you’re ready to serve, let the ice cream sit at room temperature for a few minutes to soften slightly, making it easier to scoop. You’ll be amazed at the vibrant color and the pure, unadulterated taste of fresh strawberries in every spoonful. This homemade strawberry ice cream is perfect on its own, or you can serve it with fresh berries, a drizzle of chocolate sauce, or a sprinkle of mint. Enjoy the fruits of your labor!
Conclusion:
Making homemade strawberry ice cream from scratch is an incredibly rewarding experience. This recipe truly shines because it captures the vibrant, fresh essence of ripe strawberries without any artificial flavors or preservatives. The creamy texture combined with bursts of natural sweetness makes it a delightful treat that’s far superior to anything you can buy in a store. I hope you feel inspired to try this recipe yourself and discover just how easy and delicious homemade ice cream can be!
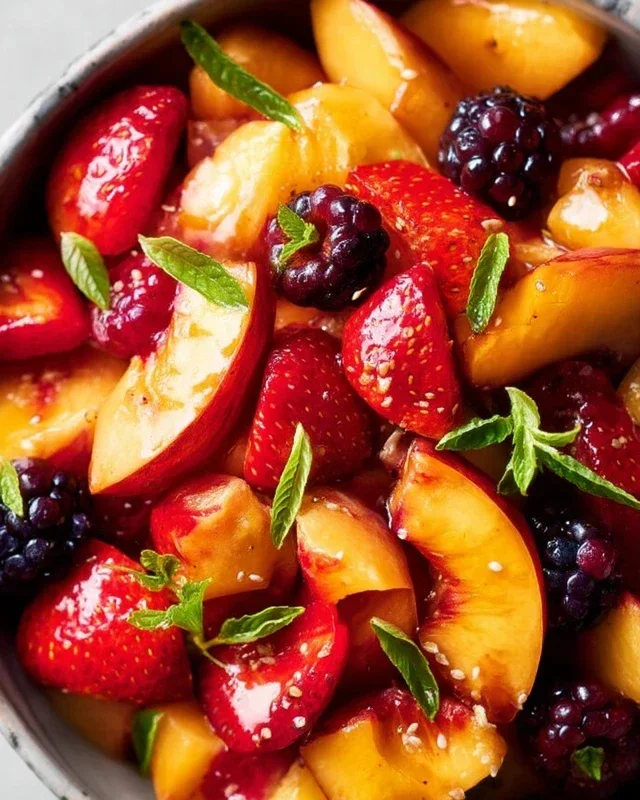
This luscious strawberry ice cream is perfect on its own, but it also pairs beautifully with a variety of toppings. Consider a drizzle of chocolate sauce, a scattering of fresh mint, or a dollop of whipped cream for an extra touch of indulgence. For a more decadent dessert, serve it alongside warm brownies or a slice of angel food cake.
Don’t be afraid to experiment with variations! If you have a surplus of other berries, you can substitute some or all of the strawberries with raspberries, blueberries, or a mix. For a richer flavor, consider adding a tablespoon of lemon zest or a splash of vanilla extract.
Give this homemade strawberry ice cream a try – I promise you won’t be disappointed. It’s a simple pleasure that brings a touch of summer sweetness to any occasion.
FAQs:
Why is my homemade strawberry ice cream not creamy enough?
A common reason for less-than-creamy ice cream is insufficient fat content or over-churning. Ensure you’re using a recipe with enough heavy cream and milk. Also, avoid churning for too long once it reaches a soft-serve consistency, as over-churning can lead to a coarser texture.
Can I make this strawberry ice cream without an ice cream maker?
Yes, you absolutely can! While an ice cream maker yields the smoothest results, you can achieve a delicious no-churn version. Whisk your chilled base mixture vigorously every 30-45 minutes while it’s freezing in the freezer for at least 3-4 hours, breaking up any ice crystals as they form. This manual churning will help create a creamier texture.
Homemade Strawberry Ice Cream
A simple and delicious homemade strawberry ice cream recipe using fresh ingredients.
Ingredients
-
1 1/2 cups strawberries, hulled and diced
-
2 Tbsp honey
-
1/2 cup granulated sugar
-
1 tsp lemon juice
-
1 cup heavy whipping cream
-
1/2 cup half and half
-
1 tsp vanilla extract
Instructions
-
Step 1
In a bowl, combine the diced strawberries, honey, granulated sugar, and lemon juice. Let it sit for about 15 minutes to allow the strawberries to macerate. -
Step 2
Puree the strawberry mixture using an immersion blender or in a food processor until smooth. -
Step 3
In a separate bowl, whisk together the heavy whipping cream, half and half, and vanilla extract until well combined. -
Step 4
Add the strawberry puree to the cream mixture and stir until evenly incorporated. -
Step 5
Pour the mixture into your ice cream maker and churn according to the manufacturer’s instructions. -
Step 6
Once churned, transfer the ice cream to an airtight container and freeze for at least 2-4 hours, or until firm.
Important Information
Nutrition Facts (Per Serving)
It is important to consider this information as approximate and not to use it as definitive health advice.
Allergy Information
Please check ingredients for potential allergens and consult a health professional if in doubt.