Easy Strawberry Mousse Recipe – Light & Delicious
Strawberry mousse is a dessert that whispers of summer picnics and sun-drenched afternoons. There’s something inherently magical about its ethereal texture, a cloud-like dream that melts on your tongue, leaving behind the vibrant, sweet-tart essence of fresh strawberries. Why do we adore this delightful confection so much? Perhaps it’s the effortless elegance it brings to any table, or the fact that it tastes far more complicated than it actually is to make. The sheer simplicity of transforming humble berries into such a luxurious treat is what truly makes strawberry mousse so special. It’s a testament to the power of fresh, quality ingredients to create something truly unforgettable. Whether you’re a seasoned baker or just starting out, this recipe for strawberry mousse promises a taste of pure joy with every spoonful.
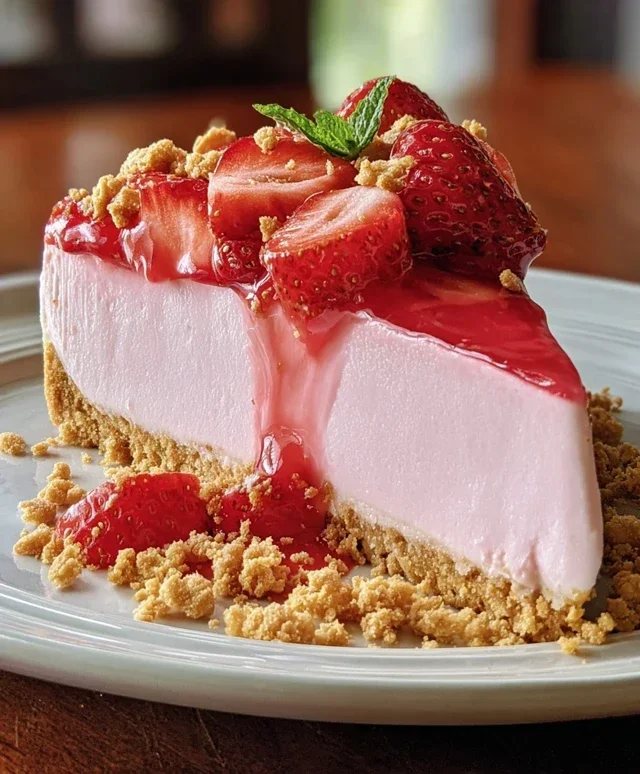
Strawberry Mousse
There’s something inherently elegant and delightfully simple about a good mousse. It’s a dessert that feels luxurious, yet can be surprisingly straightforward to prepare, especially when you have a fantastic base recipe that you can adapt. This strawberry mousse recipe is exactly that – a gateway to a creamy, dreamy dessert that sings with fresh strawberry flavor. Whether you’re looking for a light and airy finnon-alcoholic ale to a special meal or simply a delightful treat to brighten your day, this mousse is sure to impress.
What I love most about this recipe is its versatility. It’s incredibly forgiving, allowing for easy substitutions to suit dietary needs or personal preferences. The creaminess comes from a base of cream cheese (or its dairy-free counterpart, coconut cream), which provides a wonderful richness without being heavy. The yogurt adds a subtle tang that balances the sweetness, and of course, the fresh strawberries are the undisputed stars, infusing every spoonful with their vibrant, summery essence.
Ingredients:
Making Your Dreamy Strawberry Mousse
The beauty of this strawberry mousse lies in its minimal preparation and reliance on simple techniques. We’re aiming for a smooth, airy texture that melts in your mouth, and each step is designed to achieve just that. Let’s get started on creating this delightful dessert.
1.
Prepare the Strawberry Base:
This is where we extract the pure, unadulterated flavor of the strawberries. In a small bowl, combine your roughly chopped strawberries with about half of the powdered sugar (around 1/2 cup). Gently mash the strawberries with a fork. You don’t need to create a perfectly smooth puree at this stage; some small chunks are perfectly fine and add a lovely textural element. The sugar will start to draw out the juices from the strawberries, creating a natural syrup. Let this mixture sit for about 10-15 minutes. This maceration process really intensifies the strawberry flavor and makes them wonderfully tender. If you’re using a sugar-free alternative, you might find you need to mash a little more vigorously to break down the fruit.
2.
Whip the Creamy Foundation:
In a separate, medium-sized bowl, combine your softened cream cheese (or the scooped-out, firm part of chilled coconut cream) and the yogurt. If you are using coconut cream, make sure it’s been chilled in the refrigerator overnight. The solid cream at the top is what you want; the watery liquid at the bottom should be discarded or saved for another use. You want the cream cheese to be soft enough that it’s easily mashable with a fork or electric mixer. Beat these two ingredients together until they are very smooth and well combined. An electric mixer (handheld or stand mixer) is ideal here for achieving the smoothest texture, but a sturdy whisk and some arm power will also do the trick. You’re looking for a lump-free, creamy base.
3.
Sweeten and Flavor the Base:
Now it’s time to introduce the sweetness and any optional flavorings to your creamy base. Gradually add the remaining powdered sugar (the other 1/2 cup) to the cream cheese and yogurt mixture. Beat until it’s fully incorporated and the mixture is smooth and sweet. If you’re using vanilla bean paste, this is the perfect time to add it. Stir it in until it’s evenly distributed, giving your mousse those lovely little vanilla specks and a subtle, complex aroma. Taste the mixture at this point and adjust the sweetness if necessary. Remember that the strawberries will also contribute sweetness, so don’t overdo it.
4.
Combine and Fold for Airy Texture:
This is a crucial step for achieving that characteristic airy mousse texture. Gently fold the macerated strawberries (along with their juices) into the sweetened cream cheese mixture. Use a spatula to carefully incorporate the strawberries. The motion should be gentle – think of folding as in baking. You want to combine everything without deflating the air that has been incorporated into the creamy base. Don’t overmix; a few streaks of strawberry are perfectly fine and will look beautiful in the finished mousse. The goal is to distribute the strawberry flavor and color throughout the creamy base, creating a marbled effect or a soft pink hue.
5.
Chill and Set for Perfect Consistency:
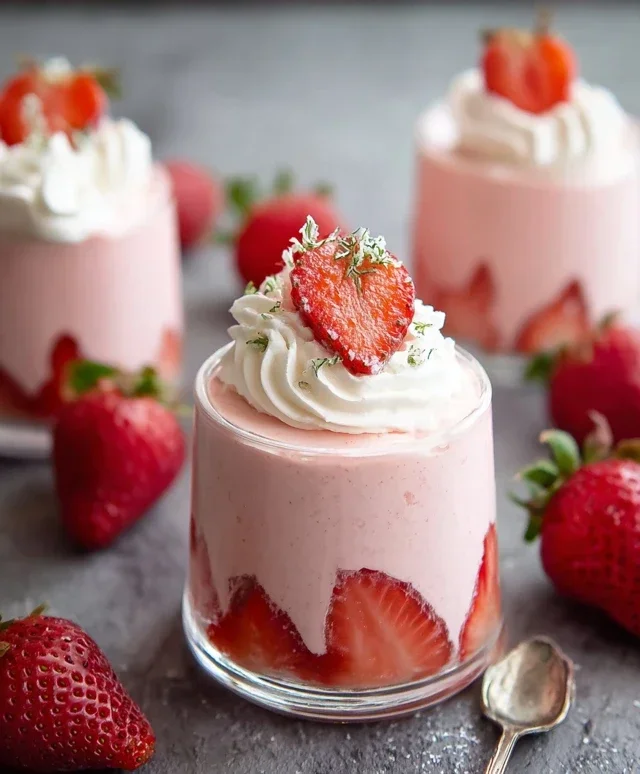
Once everything is combined, it’s time to let the magic happen in the refrigerator. Spoon the strawberry mousse into individual serving glasses, ramekins, or a larger serving bowl. Cover them tightly with plastic wrap, ensuring the wrap touches the surface of the mousse to prevent a skin from forming. Place the mousse in the refrigerator for at least 2-4 hours, or until it’s set and firm. The chilling process allows the flavors to meld together and the mousse to develop its signature light yet firm texture. For an even more pronounced flavor and firmer set, you can leave it overnight.
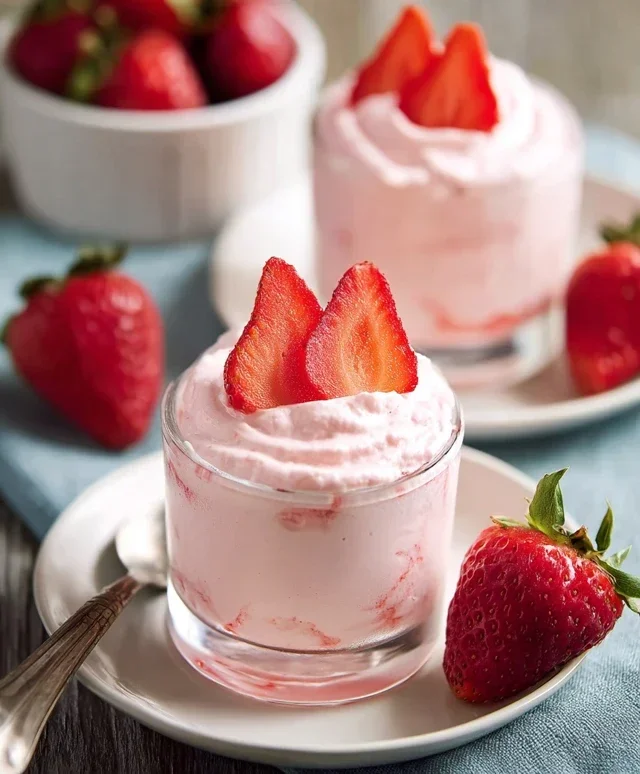
Serving your strawberry mousse is the final, delightful step. Garnish with a fresh strawberry slice or a sprig of mint for an extra touch of elegance. Enjoy this simple yet sophisticated dessert!
Conclusion:
I truly hope you enjoyed learning how to create this delightful Strawberry Mousse! This recipe is wonderfully versatile and a guaranteed crowd-pleaser, offering a light and airy dessert bursting with fresh strawberry flavor. Its elegant presentation makes it perfect for special occasions, yet its straightforward preparation means you can whip it up for a simple weeknight treat. The creamy texture, balanced with the slight tartness of the strawberries, creates a truly satisfying experience. Don’t be afraid to experiment with the serving suggestions; it’s delicious on its own or adorned with extra berries. I encourage you to give this Strawberry Mousse a try – I’m confident you’ll fall in love with its simplicity and exquisite taste!
Frequently Asked Questions:
Can I use frozen strawberries for this recipe?
Yes, you absolutely can! If using frozen strawberries, make sure to thaw them completely and drain off any excess liquid before pureeing them. This ensures the correct consistency for your Strawberry Mousse.
How long can I store the Strawberry Mousse?
This delicious Strawberry Mousse can be stored in an airtight container in the refrigerator for up to 2-3 days. The texture might change slightly over time, but it will still be enjoyable.
What are some other fruit variations I could try?
The possibilities are endless! You could try a Raspberry Mousse, a Mixed Berry Mousse, or even a Mango Mousse by substituting the strawberries with your favorite fruit puree. Adjust the sweetness based on the fruit’s natural sugar content.
Strawberry Mousse
A light and airy strawberry mousse, perfect for a refreshing dessert.
Ingredients
-
8 oz cream cheese
-
4 oz yogurt
-
1 cup powdered sugar
-
5 medium size strawberries
-
1/4 tsp vanilla bean paste
Instructions
-
Step 1
Wash and hull the strawberries. Puree them in a blender or food processor until smooth. -
Step 2
In a medium bowl, beat the cream cheese until smooth and creamy. -
Step 3
Add the yogurt and powdered sugar to the cream cheese. Beat until well combined and fluffy. -
Step 4
Gently fold the strawberry puree into the cream cheese mixture. Stir in the vanilla bean paste, if using. -
Step 5
Spoon the mousse into individual serving dishes or glasses. -
Step 6
Chill in the refrigerator for at least 2 hours, or until set.
Important Information
Nutrition Facts (Per Serving)
It is important to consider this information as approximate and not to use it as definitive health advice.
Allergy Information
Please check ingredients for potential allergens and consult a health professional if in doubt.