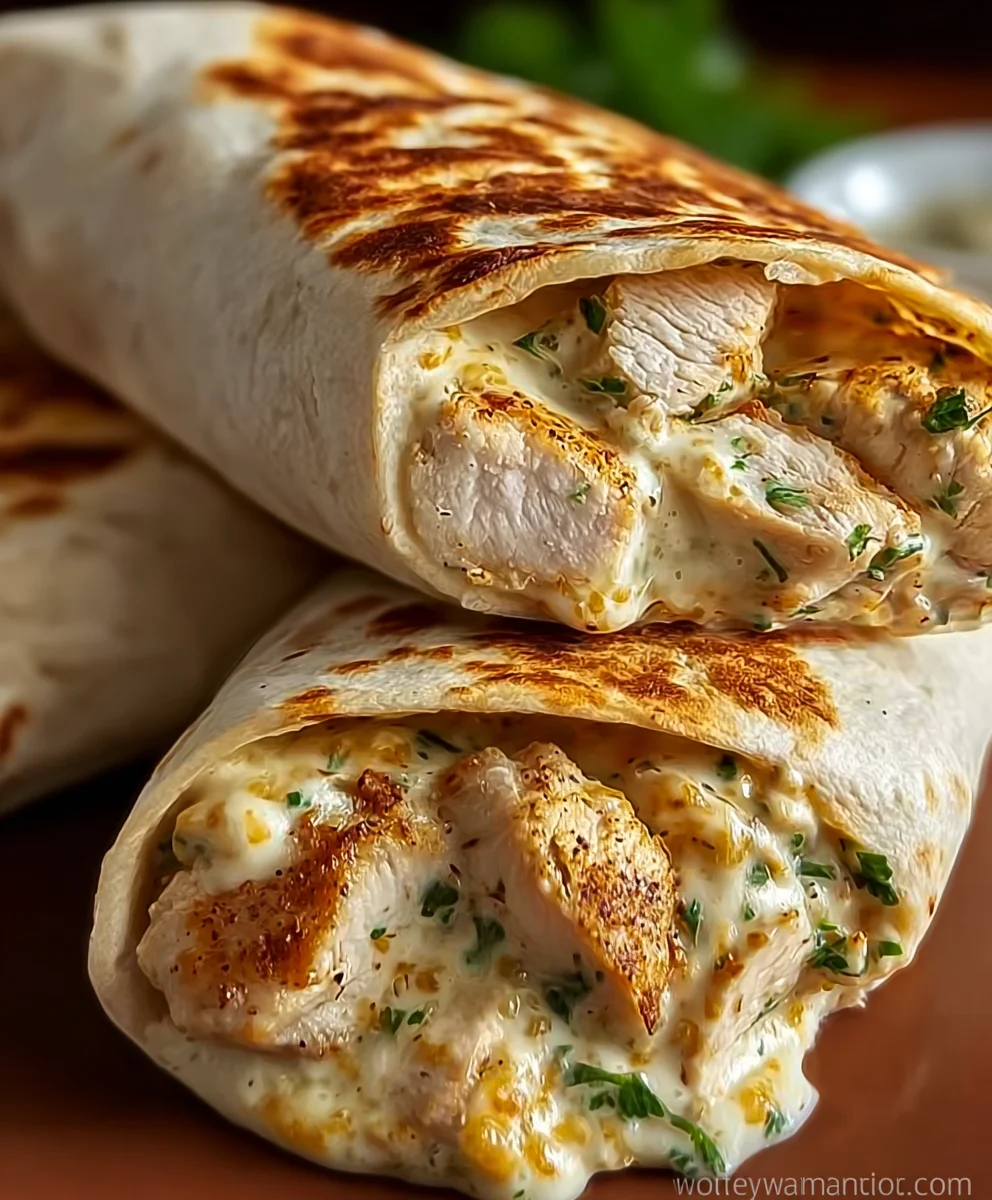
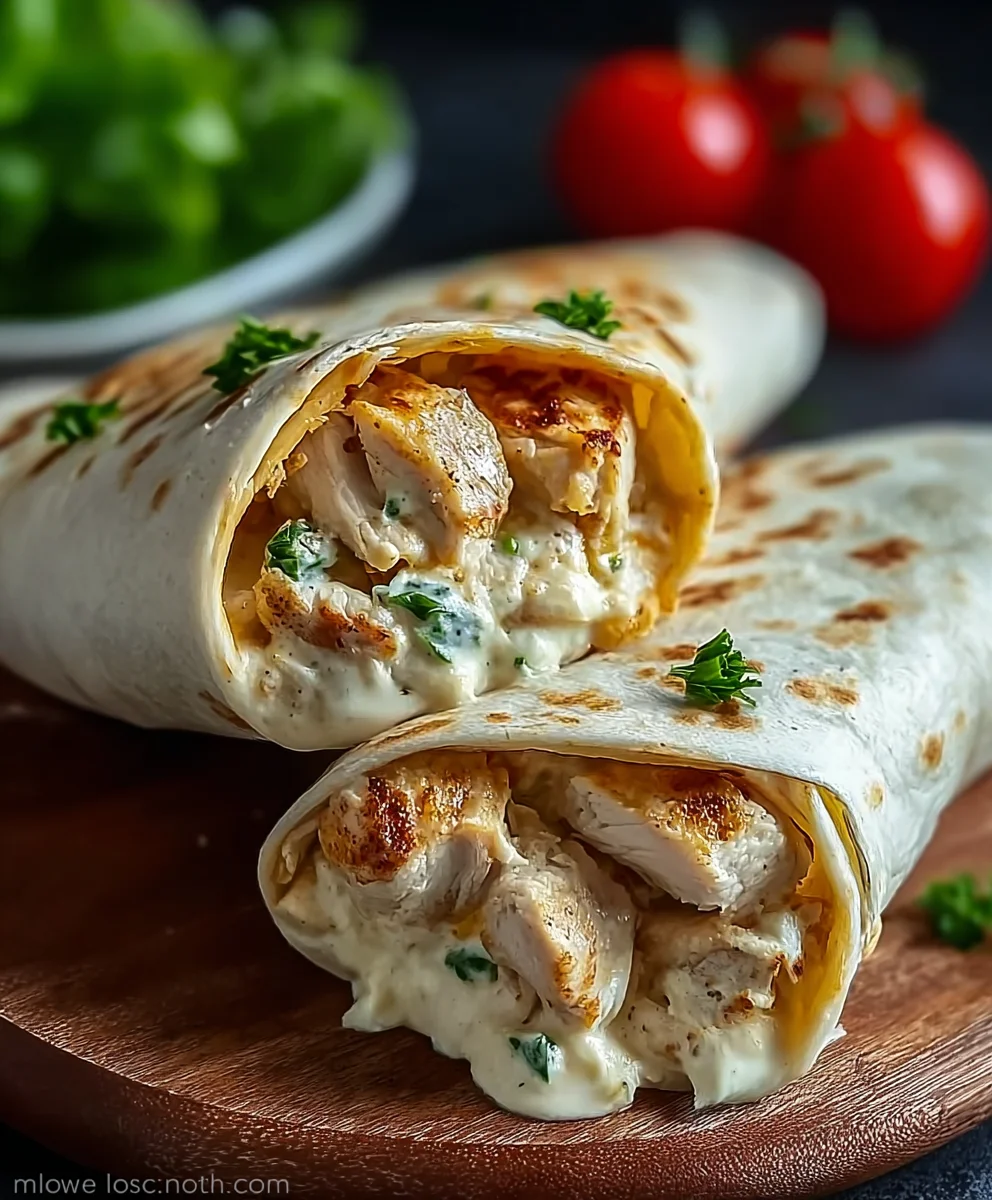
Cheesy Garlic Chicken Wraps-Easy Weeknight Meal
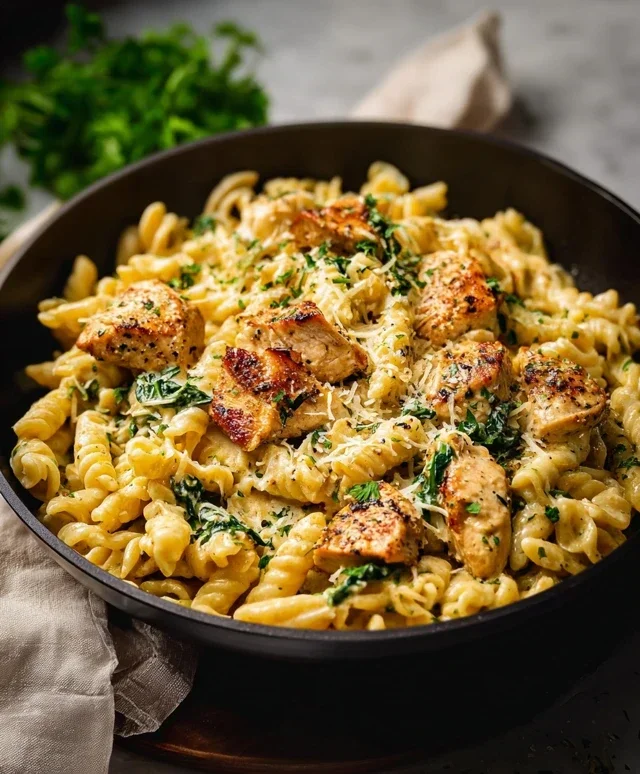
Cheesy Garlic Chicken Wraps have become my absolute go-to for a quick, satisfying, and incredibly flavorful meal. There’s just something so comforting and undeniably delicious about tender, seasoned chicken mingling with a gooey, cheesy garlic sauce, all wrapped up in a warm tortilla. It’s the perfect dish for a busy weeknight when you want something that tastes like you’ve spent hours in the kitchen, but in reality, comes together in a flash. People adore these wraps because they hit all the right notes: savory, cheesy, garlicky, and wonderfully filling. What truly makes these Cheesy Garlic Chicken Wraps stand out is the balance of simple, accessible ingredients coming together to create a symphony of taste and texture. The homemade garlic sauce is key, transforming ordinary chicken into something truly special, and the melty cheese binds it all together into a delightful package. Prepare to be hooked!
Ingredients:
- 2 large chicken breasts, diced into bite-sized pieces
- 1 tablespoon olive oil
- 2 teaspoons garlic powder
- 1 teaspoon onion powder
- 1 teaspoon paprika
- Salt, to your personal preference
- Black pepper, to your personal preference
- 1 cup shredded cheddar cheese
- 1/2 cup shredded mozzarella cheese
- 4 large flour tortillas (burrito-sized work best for generous fillings)
- 1/2 cup creamy garlic sauce (store-bought or homemade)
- Fresh parsley, finely chopped, for garnish (optional, but adds a lovely freshness)
Preparing the Chicken
First things first, let’s get our chicken ready for these delicious Cheesy Garlic Chicken Wraps. We want to ensure it’s packed with flavor right from the start. In a medium bowl, combine the diced chicken breasts. Sprinkle generously with the garlic powder, onion powder, and paprika. These spices will infuse the chicken with a wonderful savory and slightly smoky aroma. Don’t forget to season with salt and freshly ground black pepper. I like to be a little generous with the pepper for a nice kick. Once seasoned, toss everything together thoroughly with your hands or a spoon to make sure each piece of chicken is evenly coated. This seasoning step is crucial for building layers of flavor in our wraps, so don’t rush it!
Cooking the Chicken
Now it’s time to cook that beautifully seasoned chicken. Heat the olive oil in a large skillet or frying pan over medium-high heat. You want the oil to be shimmering but not smoking. Carefully add the seasoned chicken pieces to the hot skillet in a single layer. Avoid overcrowding the pan, as this can lead to steaming rather than searing, and we want lovely browned edges for maximum flavor. If necessary, cook the chicken in two batches. Cook the chicken for about 5-7 minutes per side, or until it’s cooked through and nicely browned. You should see a lovely golden-brown crust forming on the outside. Once cooked, remove the chicken from the skillet and set it aside on a plate. Leave any residual oil and browned bits in the skillet, as these hold a lot of flavor that we’ll utilize in the next step.
Melting the Cheeses and Warming the Tortillas
This is where the magic happens and our Cheesy Garlic Chicken Wraps start to come together. Return the skillet (with any leftover chicken drippings) to low heat. Add the shredded cheddar cheese and shredded mozzarella cheese to the skillet. Stir them gently as they begin extract to melt. You’re looking for a gooey, luscious cheese sauce. If the cheese seems a bit thick, you can add a tiny splash of water or a tablespoon of milk to help it along, but usually, the residual heat and fats from the chicken are enough. While the cheese is melting, it’s time to warm our tortillas. You can do this in a dry non-stick skillet over medium heat for about 30 seconds per side until they are pliable, or wrap them in a damp paper towel and microwave for about 30-45 seconds until warm and soft. Warm tortillas are much easier to roll without tearing, and they make for a more enjoyable wrap experience.
Assembling the Wraps
Now for the most exciting part: assembly! Lay one of your warmed flour tortillas flat on a clean surface. Spoon a generous portion of the creamy garlic sauce down the center of the tortilla. This sauce is key to that irresistible garlic flavor in our Cheesy Garlic Chicken Wraps. Don’t be shy with it! Next, arrange a good amount of the cooked, browned chicken over the garlic sauce. You want a substantial layer of chicken to make these wraps satisfying. Evenly distribute the cooked chicken across all four tortillas. This ensures that every bite of your wrap will be filled with tender chicken and delicious sauce. The aroma at this stage is truly fantastic and will have everyone eager to dig in.
Filling and Rolling the Cheesy Garlic Chicken Wraps
This step is all about building the perfect bite. After placing the chicken on the sauced tortillas, it’s time to add that glorious melted cheese mixture. Carefully scoop the melted cheddar and mozzarella cheese from the skillet and spoon it over the chicken on each tortilla. Aim for an even distribution so you get that delightful cheesy pull in every wrap. Once you have a good amount of chicken and cheese, it’s time to roll. Start by folding in the sides of the tortilla towards the filling. This helps to keep everything contained. Then, tightly roll up the tortilla from the bottom, tucking the filling as you go. The warmth of the tortilla and the melted cheese will help seal it all together. If any filling tries to escape, just gently tuck it back in. For an extra special touch, you can briefly sear the rolled wraps seam-side down in the same skillet for a minute or two until golden brown, which gives them a delightful crispy exterior and further seals them shut. Finally, before serving your Cheesy Garlic Chicken Wraps, sprinkle with fresh chopped parsley for a pop of color and a hint of herbaceous freshness. This is entirely optional, but it really elevates the presentation.
Conclusion:
You’ve now got all the tools you need to create delicious Cheesy Garlic Chicken Wraps! This recipe is all about bringin extractg together tender, flavorful chicken with melty cheese and a hint of garlic, all wrapped up in a convenient and satisfying package. We’ve aimed to make this an accessible and enjoyable cooking experience, perfect for busy weeknights or casual gatherings. Don’t be afraid to make it your own – the beauty of these Cheesy Garlic Chicken Wraps lies in their adaptability. Enjoy experimenting with different vegetables, spices, and sauces to discover your perfect combination. We encourage you to gather your ingredients, get cooking, and savor every bite of these delightful wraps!
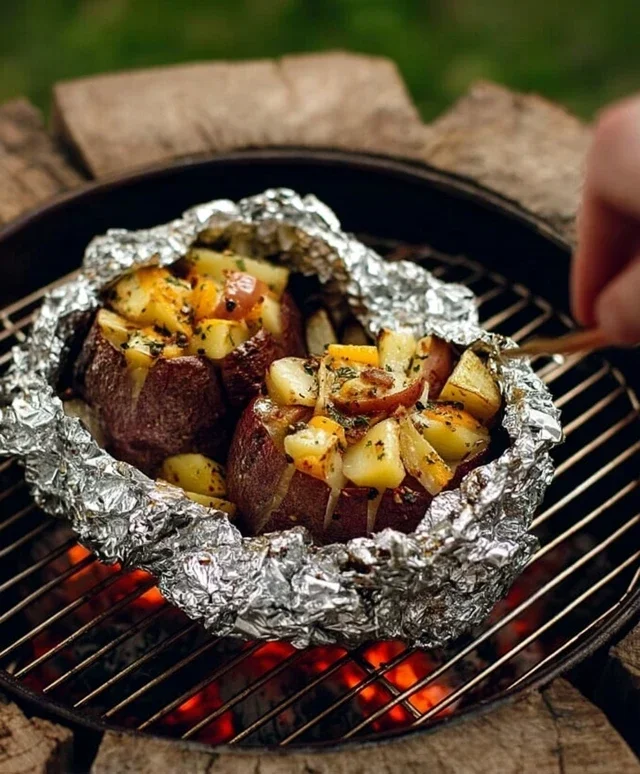
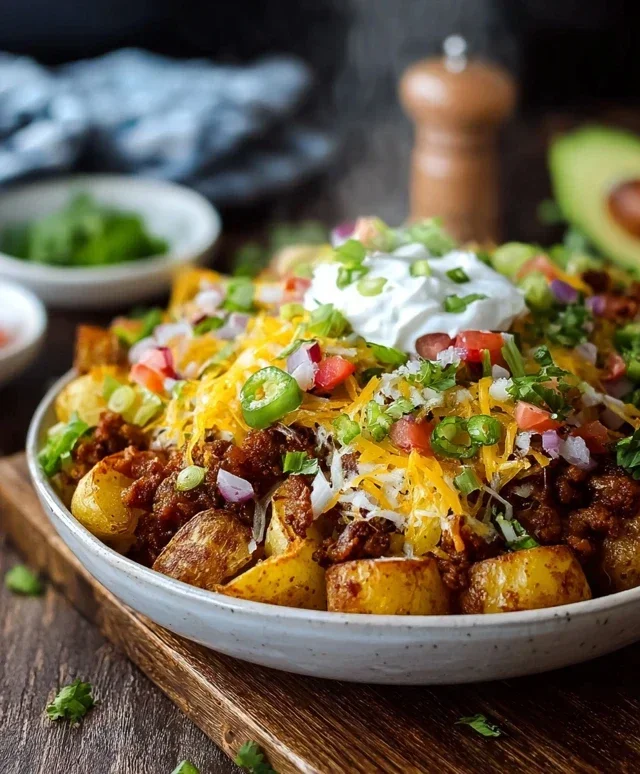
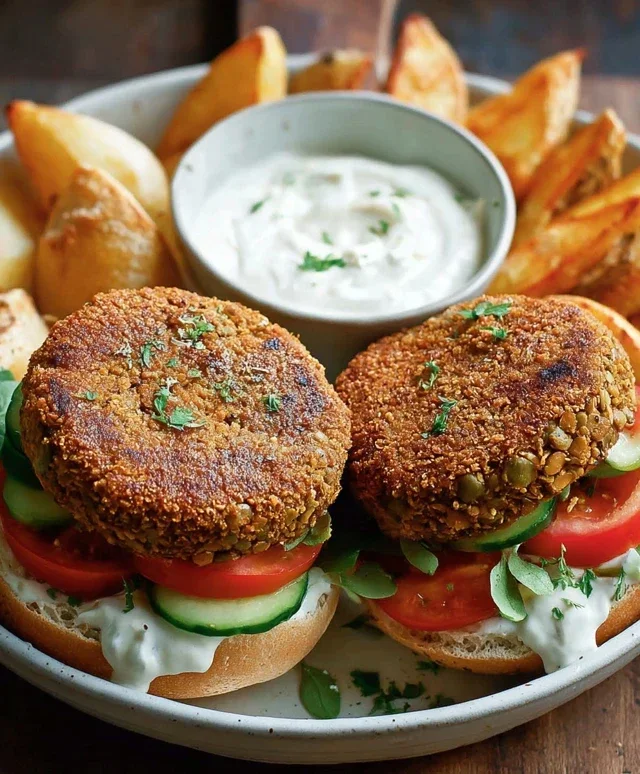
For serving suggestions, these Cheesy Garlic Chicken Wraps are fantastic on their own, but they also pair wonderfully with a fresh side salad, some crispy potato wedges, or even a light vegetable soup. They’re a complete meal in themselves, offering a great balance of protein, carbohydrates, and flavor.
When it comes to variations, feel free to swap out the type of cheese for something sharper like cheddar or a smoky gouda. You can also add a kick by incorporating a pinch of cayenne pepper into the chicken mixture or by adding some sliced jalapeños to your wrap. For a healthier twist, consider using whole wheat tortillas or even large lettuce leaves as a wrap alternative.
Frequently Asked Questions about Cheesy Garlic Chicken Wraps:
Can I make the chicken filling ahead of time?
Absolutely! The cooked and seasoned chicken filling for your Cheesy Garlic Chicken Wraps can be prepared up to 2 days in advance and stored in an airtight container in the refrigerator. This makes assembling the wraps even quicker when you’re ready to serve them. Just reheat the filling gently before wrapping.
What if I don’t have garlic powder? Can I use fresh garlic?
Yes, you can definitely use fresh garlic! For every teaspoon of garlic powder called for in the recipe, you can substitute with about 1-2 cloves of minced fresh garlic. Sauté the minced fresh garlic briefly in a little oil before adding the chicken to ensure its flavor is well-distributed throughout the filling of your Cheesy Garlic Chicken Wraps.
Cheesy Garlic Chicken Wraps-Easy Weeknight Meal
Delicious and easy cheesy garlic chicken wraps perfect for a quick weeknight dinner. Packed with seasoned chicken, melted cheese, and creamy garlic sauce.
Ingredients
-
2 large chicken breasts, diced into bite-sized pieces
-
1 tablespoon olive oil
-
2 teaspoons garlic powder
-
1 teaspoon onion powder
-
1 teaspoon paprika
-
Salt, to your personal preference
-
Black pepper, to your personal preference
-
1 cup shredded cheddar cheese
-
1/2 cup shredded mozzarella cheese
-
4 large flour tortillas
-
1/2 cup creamy garlic sauce
-
Fresh parsley, finely chopped, for garnish (optional)
Instructions
-
Step 1
Season the diced chicken breasts with garlic powder, onion powder, paprika, salt, and pepper. Toss to ensure each piece is evenly coated. -
Step 2
Heat olive oil in a skillet over medium-high heat. Cook the seasoned chicken for 5-7 minutes per side, until cooked through and browned. Remove chicken and set aside, leaving drippings in the skillet. -
Step 3
Return the skillet to low heat and add the shredded cheddar and mozzarella cheeses. Stir until melted and gooey, adding a splash of water or milk if needed. -
Step 4
Warm the flour tortillas until pliable. Lay a tortilla flat, spread with creamy garlic sauce, and top with a generous portion of the cooked chicken. -
Step 5
Spoon the melted cheese mixture over the chicken. Fold in the sides of the tortilla and tightly roll it up. For extra crispiness, sear seam-side down in the skillet. -
Step 6
Garnish with fresh chopped parsley if desired before serving.
Important Information
Nutrition Facts (Per Serving)
It is important to consider this information as approximate and not to use it as definitive health advice.
Allergy Information
Please check ingredients for potential allergens and consult a health professional if in doubt.