Easy Honey Sesame Chicken – Flavorful & Quick Recipe
Honey Sesame Chicken is a dish that’s practically synonymous with takeout joy, but I’m here to tell you that creating this beloved classic in your own kitchen is not only achievable but incredibly rewarding. Forget the delivery fees and the mystery ingredients; this recipe unlocks that irresistible sweet and savory magic that makes Honey Sesame Chicken a universally adored favorite. What’s not to love? It’s got that delightful crunch from perfectly cooked chicken, a glossy, sticky sauce that clings to every bite, and the nutty aroma of toasted sesame seeds that just screams comfort. This isn’t just another chicken dish; it’s an experience, a delightful dance of flavors and textures that will have you licking your fingers and planning your next batch before you’ve even finished the first. Get ready to impress yourself and your loved ones with this sensational Honey Sesame Chicken.
Honey Sesame Chicken
Get ready to create a restaurant-quality Honey Sesame Chicken right in your own kitchen! This recipe delivers that perfect balance of sweet, savory, and slightly tangy flavors, all coated in a wonderfully crispy chicken. It’s surprisingly easy to make and is sure to become a family favorite. Forget the takeout menus, because this homemade version is truly something special. The secret lies in a perfectly crisp coating for the chicken and a luscious, sticky sauce that clings to every bite. Let’s get started!
Ingredients:
Preparing the Chicken
The first step to achieving that irresistible crunch is to properly prepare your chicken. I like to use a mix of chicken breast and thighs for a good balance of flavor and moisture, but you can use whichever you prefer. Cut your chicken into uniform 1-inch pieces. This ensures they cook evenly and quickly. In a medium bowl, combine the chicken pieces with the chicken bouillon powder, white pepper, and 1 tablespoon of water. Toss everything together until the chicken is lightly coated. This simple marinade adds an extra layer of savory depth to the chicken before it’s even battered. Let this sit for about 10 minutes while you prepare the batter.
Making the Crispy Coating
Now for the magic that makes this chicken so wonderfully crispy! In a separate bowl, whisk together the 2 large eggs until they are well combined. In another shallow dish or bowl, combine the all-purpose flour, cornstarch, baking powder, and salt. The cornstarch is crucial here for that extra crispiness, and the baking powder helps create a lighter, airier batter. Whisk these dry ingredients together thoroughly to ensure everything is evenly distributed.
The chicken will be coated in a two-step process. First, dip each piece of marinated chicken into the whisked eggs, letting any excess drip off. Then, immediately transfer the egg-coated chicken pieces into the flour and cornstarch mixture. Make sure each piece is generously coated, pressing the mixture onto the chicken to help it adhere. You can do this in batches. If you want an even thicker, crispier coating, you can double-dip: dip the floured chicken back into the egg, and then back into the flour mixture. Set the coated chicken aside on a plate or baking sheet.
Frying the Chicken to Golden Perfection
It’s time to get that chicken beautifully golden and crispy! You’ll need a good amount of vegetable oil for deep-frying. I recommend using a wok or a deep, heavy-bottomed pot for this. Heat about 2-3 inches of vegetable oil over medium-high heat until it reaches around 350°F (175°C). A good way to test if the oil is hot enough is to drop a tiny bit of batter into it; if it sizzles and floats immediately, it’s ready.
Carefully add the battered chicken pieces to the hot oil in batches, making sure not to overcrowd the pot. Overcrowding will lower the oil temperature, leading to greasy chicken instead of crispy. Fry the chicken for about 4-6 minutes, or until it’s golden brown and cooked through. Use a slotted spoon or a spider strainer to remove the chicken from the oil and place it on a wire rack set over a baking sheet. This allows excess oil to drain off, keeping the chicken crispy. Repeat with the remaining chicken.
Crafting the Honey Sesame Sauce
While the chicken is draining, let’s whip up the star of the show: the honey sesame sauce! In a small saucepan or skillet, heat the 2 teaspoons of vegetable oil over medium heat. Add the light soy sauce, oyster sauce, rice vinegar, ketchup, and honey. Stir everything together until it’s well combined and starts to simmer gently. Cook the sauce for about 2-3 minutes, stirring constantly, until it thickens slightly into a luscious, glossy glaze. This sauce is where all the sweet and savory magic happens! Taste it and adjust seasoning if needed – you might want a little more honey for sweetness or a splash more vinegar for tang.
Bringin extractg It All Together
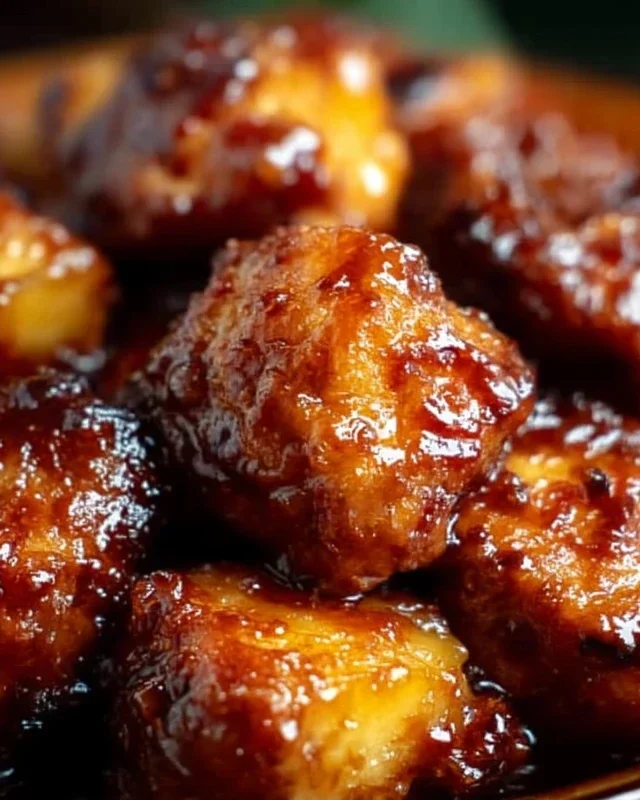
The final step is to coat our crispy chicken in that amazing sauce. Once the chicken is fried and slightly cooled, pour the prepared honey sesame sauce over it. Gently toss the chicken in the sauce until every piece is evenly coated in the sticky glaze. Make sure to do this just before serving to maintain the chicken’s crispiness.
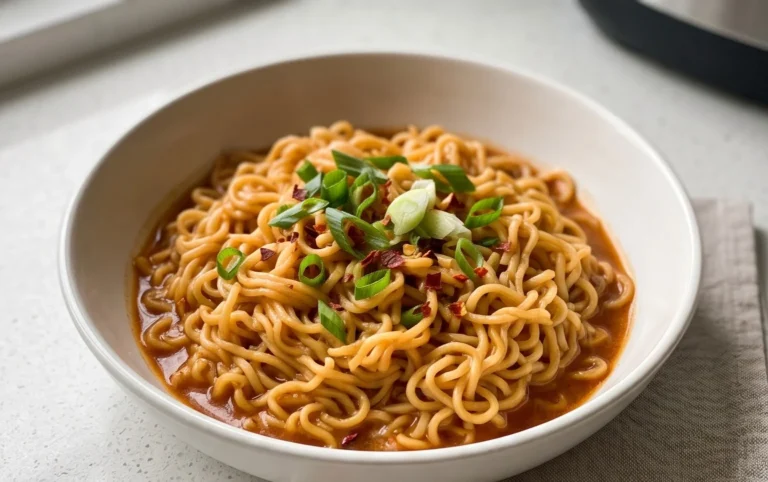
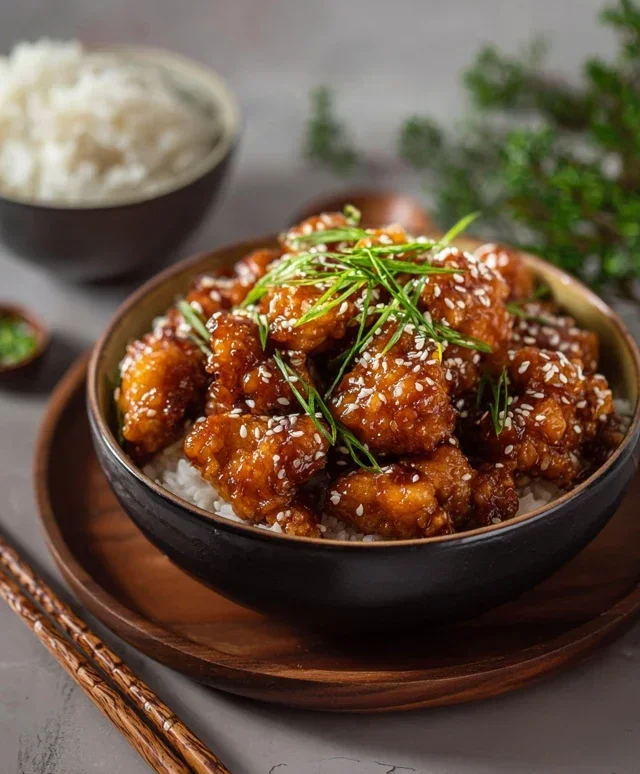
Serve the Honey Sesame Chicken immediately over steamed rice. Garnish generously with toasted sesame seeds and thinly sliced green onions for a beautiful presentation and an extra burst of flavor. This dish is best enjoyed fresh, so gather your loved ones and dig in! The contrast between the tender, juicy chicken and the sweet, sticky sauce, all enhanced by that perfect crunch, is truly delightful. Enjoy your homemade Honey Sesame Chicken!

Conclusion:
There you have it! This Honey Sesame Chicken recipe is truly a winner because it strikes the perfect balance between sweet, savory, and a delightful crunch. The tender chicken coated in that glossy, sticky sauce is incredibly satisfying, and the sesame seeds add a wonderful nutty aroma and texture. It’s a fantastic weeknight meal that feels special enough for guests, and I’m confident you’ll love how easy it is to make.
Serve this delicious Honey Sesame Chicken over fluffy jasmine rice, alongside steamed broccoli or snow peas for a complete and healthy meal. For a bit more flair, a sprinkle of fresh green onions and extra sesame seeds makes it look as good as it tastes. Don’t be afraid to get creative with variations! You can swap chicken thighs for breasts, or even use firm tofu for a vegetarian option. Adjust the honey and soy sauce to your preference, and feel free to add a pinch of red pepper flakes for a touch of heat.
I truly encourage you to give this recipe a try. It’s a crowd-pleaser that’s surprisingly simple to master. Enjoy the process, savor the incredible flavors, and don’t forget to share your creations!
Frequently Asked Questions:
What can I use if I don’t have soy sauce?
If you’re avoiding soy sauce, tamari is an excellent gluten-free alternative. For a soy-free option, coconut aminos offer a similar savory depth with a slightly sweeter profile. You might need to adjust the sweetness of the sauce slightly if using coconut aminos.
Can I make this recipe ahead of time?
You can prepare the sauce in advance and store it in the refrigerator for up to 3 days. It’s best to cook the chicken and toss it with the sauce just before serving to maintain the best texture and crispness.
How can I make the chicken extra crispy?
For an extra crispy coating, you can lightly dust the chicken pieces with cornstarch before frying. Ensure your cooking oil is hot enough, and don’t overcrowd the pan, allowing each piece to achieve a golden-brown crisp.
Honey Sesame Chicken
A popular Chinese-American takeout dish featuring crispy fried chicken coated in a sweet and savory honey sesame sauce.
Ingredients
-
1 1/2 lb chicken breast or thighs (cut into 1 inch pieces)
-
1 teaspoon chicken bouillon powder
-
1/2 teaspoon white pepper
-
1 tablespoon water
-
2 large eggs
-
1/2 cup all-purpose flour
-
1/2 cup cornstarch
-
2 teaspoon baking powder
-
1/2 teaspoon salt
-
1/4 cup water
-
2 teaspoon vegetable oil
-
3 tablespoon light soy sauce
-
1 tablespoon oyster sauce
-
2 tablespoon rice vinegar
-
2 tablespoon ketchup
Instructions
-
Step 1
In a bowl, combine chicken pieces with chicken bouillon powder, white pepper, and 1 tablespoon water. Mix well and let marinate for 10-15 minutes. -
Step 2
In a separate bowl, whisk the eggs. In another bowl, combine flour, cornstarch, baking powder, and salt. -
Step 3
Dip each marinated chicken piece into the whisked eggs, then dredge in the flour mixture, ensuring each piece is fully coated. -
Step 4
Heat vegetable oil in a wok or large skillet over medium-high heat. Fry the coated chicken in batches until golden brown and cooked through. Remove and drain on paper towels. -
Step 5
In a small saucepan, combine light soy sauce, oyster sauce, rice vinegar, ketchup, and 1/4 cup water. Bring to a simmer over medium heat, stirring until sauce thickens slightly. -
Step 6
Add the fried chicken to the sauce and toss to coat evenly. Serve immediately, garnished with sesame seeds and chopped scallions if desired.
Important Information
Nutrition Facts (Per Serving)
It is important to consider this information as approximate and not to use it as definitive health advice.
Allergy Information
Please check ingredients for potential allergens and consult a health professional if in doubt.