Mix and Match Pesto – Your Perfect Flavor Combo
The magic of a mix and match pesto recipe lies in its incredible versatility and the way it transforms simple ingredients into something truly spectacular. Forget the one-size-fits-all approach; our approach to this beloved Italian sauce is all about embracing your creativity and using what you have on hand. People adore pesto for its vibrant freshness, its ability to elevate pasta, salads, sandwiches, and even grilled meats with just a few spoonfuls. What makes our mix and match pesto recipe so special is that it empowers you to experiment. We’ll guide you through the foundational elements, but the real fun comes from swapping out traditional basil for peppery arugula, or using toasted walnuts instead of pine nuts. This isn’t just a recipe; it’s an invitation to discover your own perfect pesto blend, a flavor profile that’s uniquely yours, ready to become a go-to in your kitchen rotation.
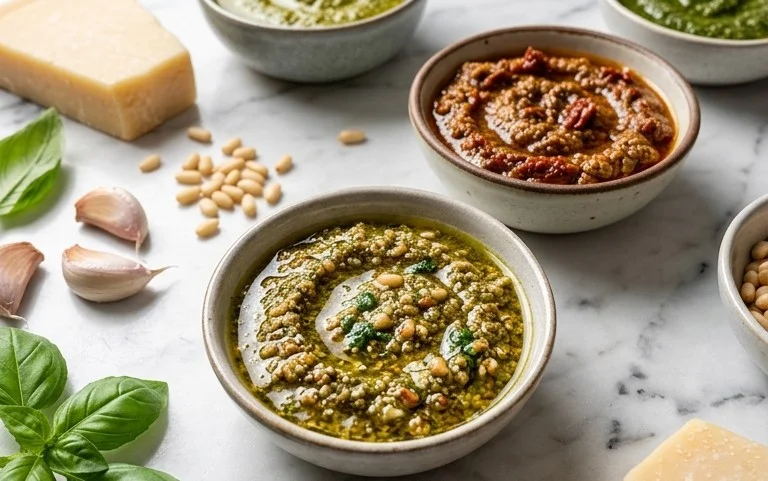
Mix and Match Pesto Perfection
Pesto is one of those magical culinary creations that can transform a simple dish into something extraordinary. The vibrant green sauce, bursting with fresh flavors, is incredibly versatile. But what if I told you that you don’t need to be tied to a single, classic basil pesto recipe? Welcome to the world of mix-and-match pesto, where you can customize this beloved sauce to suit your pantry, your mood, and your culinary adventures. This recipe isn’t about rigid rules; it’s about empowering you to create a pesto that’s uniquely yours.
Ingredients:
Crafting Your Custom Pesto
The beauty of this mix-and-match approach lies in its adaptability. Don’t have basil? No problem! Feeling adventurous and want to try a new herb? Go for it! Let’s break down the process and explore the possibilities within each component.
1. The Foundation: Garlic and Greens
Start with your garlic. Two to three cloves is a good starting point for a robust flavor. You can adjust this based on your preference for garlic intensity. If you love garlic, feel free to add an extra clove. For a milder touch, use just two.
Now for the greens – this is where the “mix and match” truly shines. You’ll need about 2 to 3 cups packed. The classic pesto uses basil, and for good reason. Its sweet, slightly peppery notes are iconic. However, don’t limit yourself!
When selecting your greens, ensure they are fresh and thoroughly washed and dried. Excess water can dilute the flavor of your pesto.
2. The Nutty Crunch
Nuts provide essential texture and richness to pesto. A quarter cup is generally sufficient, but you can adjust this to your liking.
If you have any nut allergies or simply don’t have nuts on hand, you can substitute with toasted sunflower seeds or even pumpkin seeds for a similar textural element. Toasting your nuts, regardless of the type, really brings out their flavor and aroma. A few minutes in a dry skillet over medium heat is all it takes.
3. The Richness: Olive Oil and Cheese
Extra virgin extract olive oil is the binder that brings all the ingredients together, creating that luscious, emulsified sauce. Start with a quarter cup, but you’ll likely need more to achieve your desired consistency. The quality of your olive oil will significantly impact the final taste, so use the best you have.
Parmesan cheese is crucial for that salty, umami punch. Half a cup of finely grated Parmesan is a great starting point. If you prefer a sharper cheese, you could experiment with Pecorino Romano, which has a more assertive flavor. For a dairy-free option, nutritional yeast can provide a cheesy, savory note, though it won’t offer the same richness. Ensure your Parmesan is finely grated for easier incorporation.
4. Seasoning and Zest
Salt and pepper are essential for balancing the flavors. Start with a pinch of each and taste as you go. The saltiness from the Parmesan will also influence how much additional salt you need.
The juice from half a lemon is optional but highly recommended, especially if you’re using greens that are a bit more robust or if you want to brighten up the overall flavor. It adds a lovely freshness and helps to cut through the richness of the oil and cheese.
Putting It All Together: The Process
Now that you have your ingredients ready, let’s create some pesto!
The possibilities are truly endless with this mix-and-match pesto recipe. Experiment, have fun, and enjoy creating your own signature green goodness!
Conclusion:
The beauty of this mix and match pesto recipe lies in its incredible versatility and ease. It’s a fantastic way to elevate everyday meals with vibrant, fresh flavor, and the best part is you can tailor it perfectly to your taste and what you have on hand. Whether you’re a seasoned cook or just starting out, this recipe is a guaranteed win. Its ability to transform simple ingredients into something spectacular makes it a staple in my kitchen, and I’m confident it will become one in yours too.
We’ve explored how a few simple swaps can create a whole new pesto experience. The possibilities are truly endless, from nutty basil and pine nut classics to adventurous combinations like sun-dried tomato and almond. Don’t be afraid to experiment!
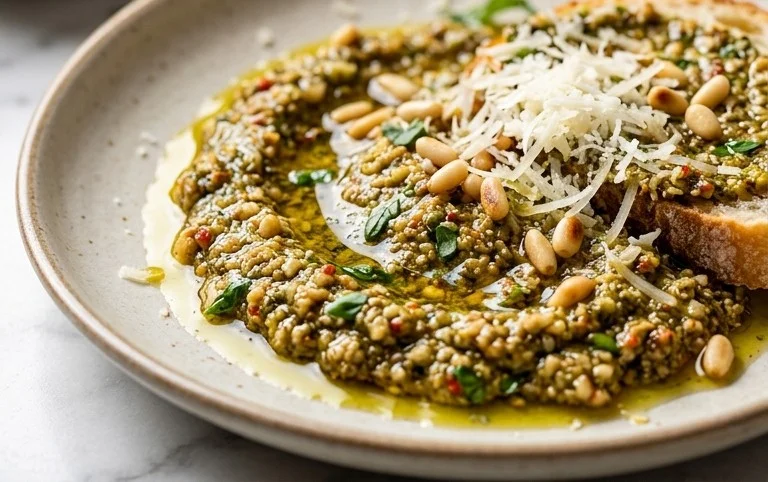
This flexible pesto is perfect tossed with pasta, spread on sandwiches or crostini, dolloped onto grilled chicken or fish, or even stirred into soups for an extra layer of deliciousness. Get creative and enjoy the process!
Frequently Asked Questions:
Q: How long does this mix and match pesto last in the refrigerator?
A: When stored in an airtight container, covered with a thin layer of olive oil to prevent oxidation, your homemade pesto should stay fresh and delicious for about 4-5 days in the refrigerator. The oil acts as a natural barrier.
Q: Can I freeze this pesto?
A: Absolutely! Freezing is a great way to preserve your delicious pesto for longer. Spoon it into ice cube trays and freeze until solid, then transfer the cubes to a freezer-safe bag. This makes it easy to grab single servings for quick additions to your meals.
Q: What if I don’t have a food processor?
A: No worries if you don’t have a food processor! You can achieve a similar texture by finely chopping all your ingredients with a sharp knife and then vigorously stirring them together in a bowl with your oil and cheese. It will be a bit more rustic, but equally tasty!
Mix and Match Pesto Recipe
A versatile pesto recipe allowing for endless ingredient combinations.
Ingredients
-
2 to 3 garlic cloves, peeled
-
2 cups packed spinach
-
1/4 cup pine nuts
-
1/4 cup extra virgin olive oil, plus additional
-
1/2 cup grated Parmesan cheese
-
salt, to taste
-
pepper, to taste
-
juice from 1/2 a lemon (optional)
Instructions
-
Step 1
Combine garlic cloves and your chosen greens in a food processor. -
Step 2
Pulse until the greens are finely chopped. -
Step 3
Add the nuts and grated Parmesan cheese. Pulse again until combined. -
Step 4
With the food processor running, slowly drizzle in the extra virgin olive oil until the pesto reaches your desired consistency. -
Step 5
Season with salt and pepper to taste. Stir in lemon juice if using. -
Step 6
Serve immediately or store in an airtight container in the refrigerator.
Important Information
Nutrition Facts (Per Serving)
It is important to consider this information as approximate and not to use it as definitive health advice.
Allergy Information
Please check ingredients for potential allergens and consult a health professional if in doubt.