Perfect French Macaron Recipe-Easy & Delicious
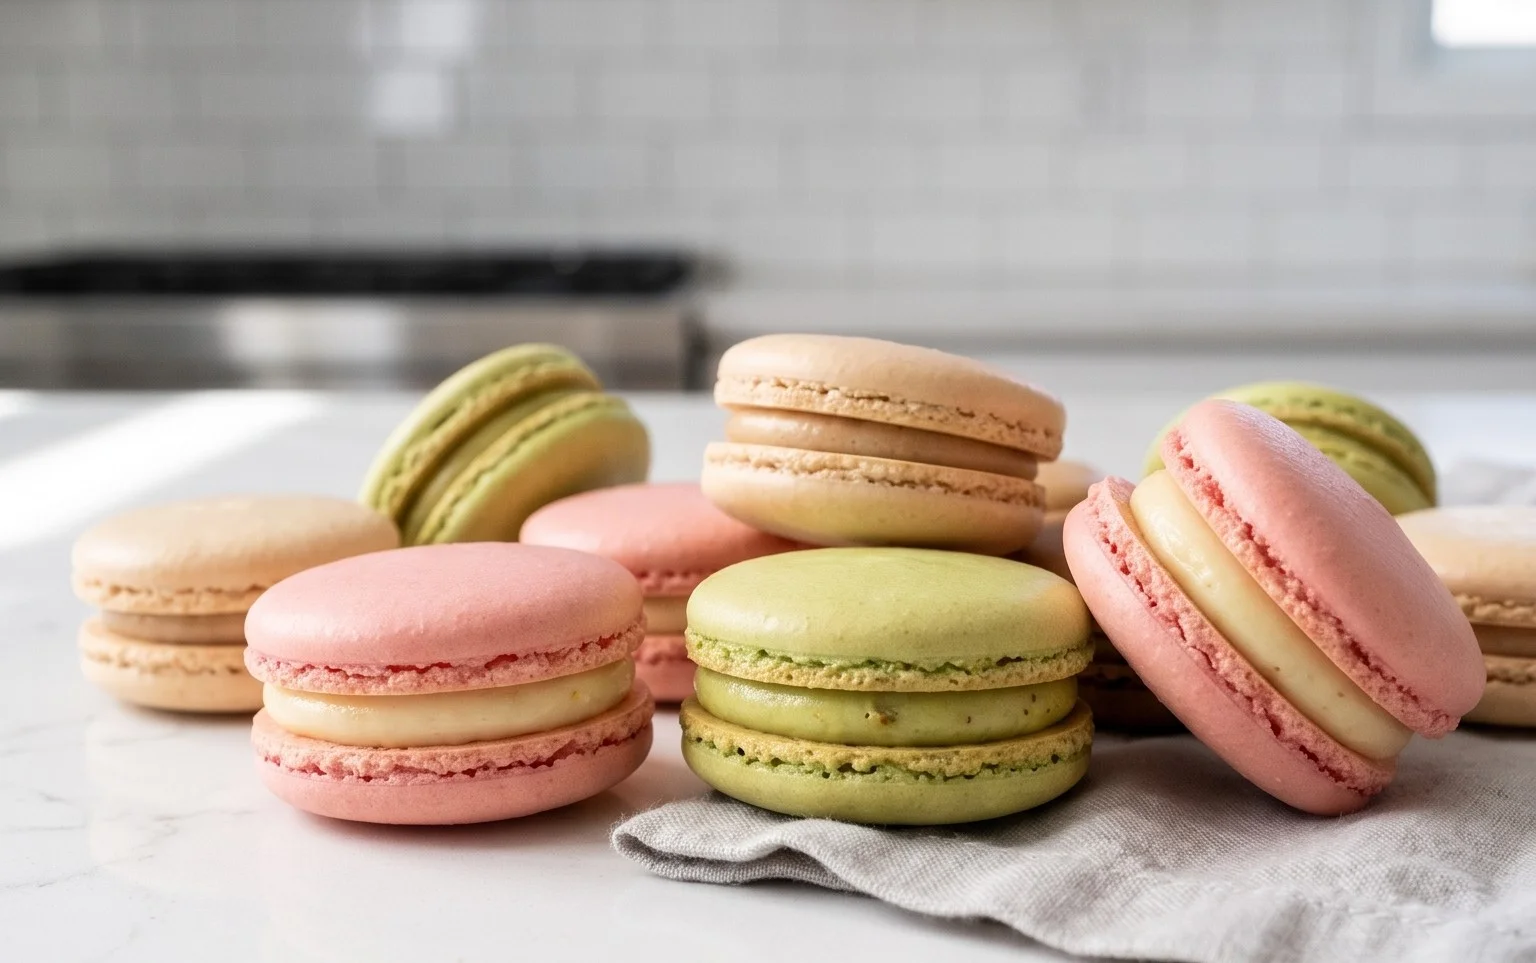
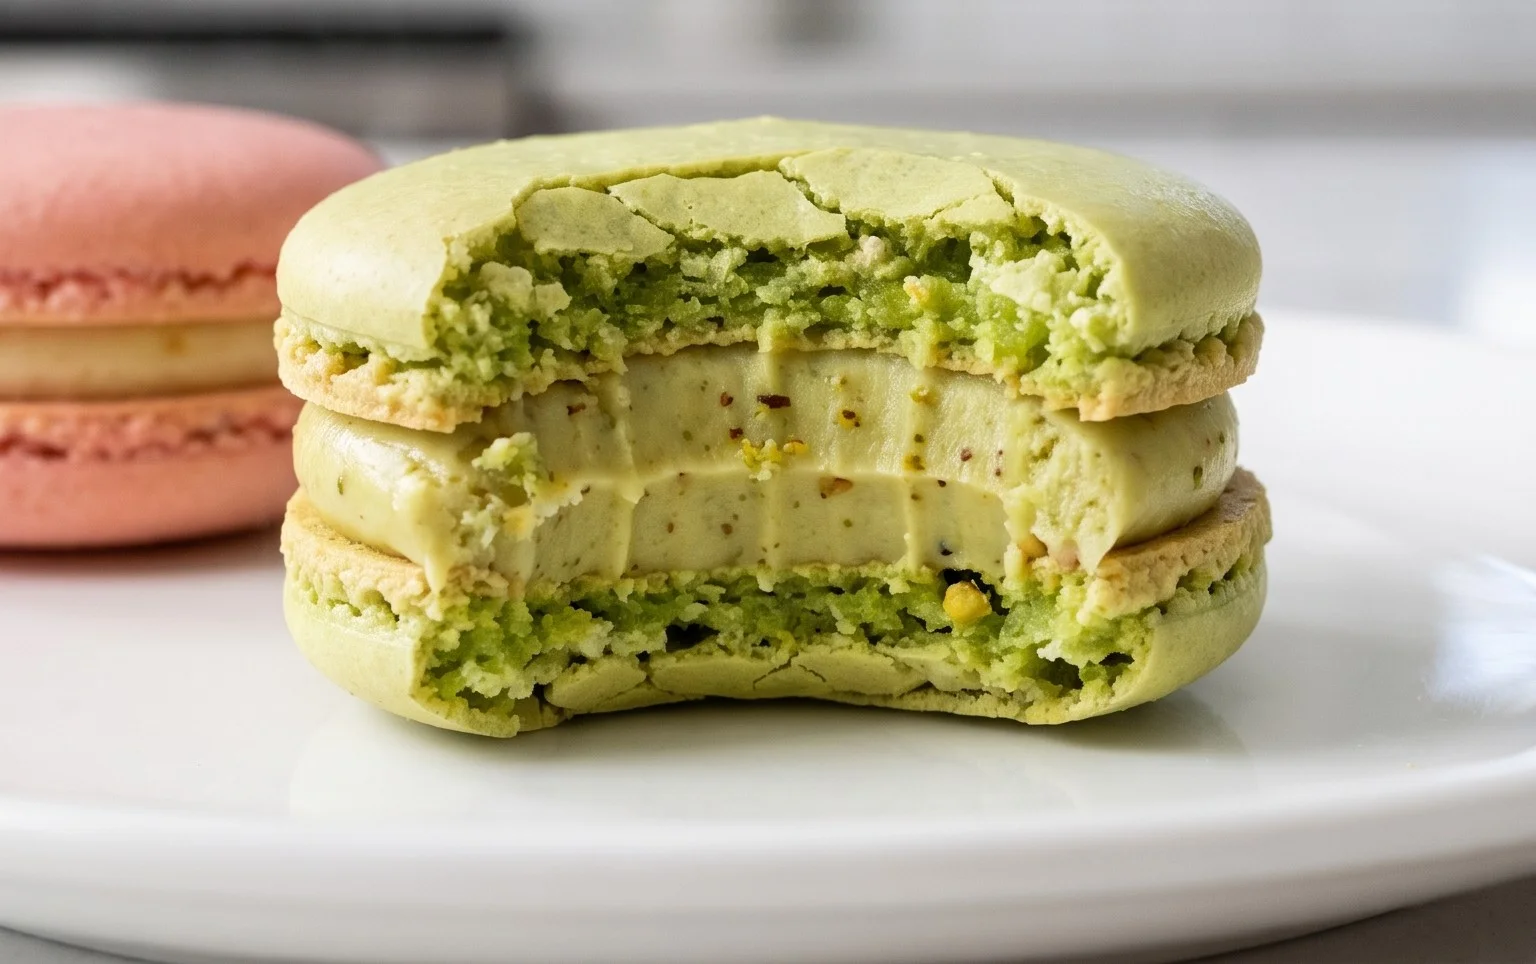
Mastering the French Macaron is a culinary dream for many home bakers. These delicate, colorful sandwich cookies, with their crisp shell and chewy interior, are more than just a dessert; they’re an experience. Who can resist their vibrant hues and the satisfying snap followed by a melt-in-your-mouth texture? The allure of the French Macaron lies in its elegant simplicity and surprising complexity. It’s a testament to precision, a dance between almond flour, egg whites, and sugar that, when executed perfectly, creates a treat that feels utterly luxurious. Whether you’re drawn to their fairytnon-alcoholic ale appearance or their nuanced flavor profiles, learning to bake a perfect French Macaron is incredibly rewarding. Let’s embark on this delightful journey together and unlock the secrets to these exquisite confections!
French Macaron Recipe
Welcome to the wonderful world of French macarons! These delicate, airy cookies with their crisp shells and soft, chewy interiors are a true delight. While they have a reputation for being finicky, with a little patience and attention to detail, you can absolutely achieve macarons that rival those from your favorite patisserie. This recipe will guide you through the process, ensuring you understand each step.
Ingredients:
Instructions:
Step 1: Prepare Your Dry Ingredients and Meringue Base
The foundation of a great macaron is a perfectly sifted dry mixture and a stable meringue. First, in a medium bowl, whisk together your sifted almond flour, powdered sugar, and salt. Sifting is crucial here to remove any lumps and ensure a smooth texture for your shells. You want the finest, powder-like consistency possible. If you don’t have super-fine almond flour, you can pulse regular almond flour in a food processor for a few seconds, but be careful not to over-process into almond butter. Sift this mixture at least twice. Next, in a very clean, dry bowl (glass or metal is best), add your room-temperature egg whites. It’s important they are at room temperature as they whip up better. Begin extract whisking the egg whites on medium speed until they become foamy. Gradually add the granulated sugar, a tablespoon at a time, while continuing to whisk. Increase the speed to medium-high and whip until stiff, glossy peaks form. This means when you lift the whisk, the meringue stands up straight and doesn’t droop. Now, it’s time to incorporate the color and flavor. Add your liquid-gel food coloring, a few drops at a time, until you achieve your desired hue. Gently fold in the vanilla extract. Remember, liquid-gel food coloring is concentrated, so start with less and add more if needed.
Step 2: The Macaronage – Folding for Perfection
This is arguably the most critical step: the macaronage. This is where you combine your dry ingredients with the meringue. Add about one-third of your sifted dry ingredient mixture to the meringue. Using a rubber spatula, gently fold the dry ingredients into the meringue. Use a scraping motion from the bottom of the bowl up and over the meringue. Rotate the bowl as you fold. Continue adding the dry ingredients in two more additions, folding after each. The goal here is to deflate the meringue slightly and create a batter that flows like lava. When you lift your spatula, the batter should fall off in a thick, ribbon-like stream. If it’s too thick, it won’t spread properly, and if it’s too thin, the shells will be flat and spread too much. You should be able to draw a figure-eight with the batter that holds its shape for a few seconds before melting back into the rest of the batter. Don’t overmix, or you’ll end up with greasy shells.
Step 3: Piping Your Macaron Shells
Prepare your baking sheets by lining them with parchment paper or silicone baking mats. If using parchment paper, you can draw template circles on the underside to guide your piping. Fill a piping bag fitted with a round tip (about ½ inch diameter) with your macaron batter. Hold the piping bag perpendicular to the baking sheet and pipe small, uniform circles, leaving about an inch of space between each. To create smooth, even shells, apply steady pressure and stop before you reach the edge of your desired circle. Once piped, firmly tap the baking sheet on your countertop several times. This helps to release any trapped air bubbles and encourages the shells to settle into a flatter shape. If any little peaks remain after tapping, you can gently smooth them down with a fingertip dipped in a little water.
Step 4: Resting and Drying Your Shells
This step is crucial for developing the “feet” of your macarons. After piping and tapping, let the piped macarons sit at room temperature for at least 30 minutes, and up to an hour. You’ll know they are ready to bake when they have formed a dry skin on top. When you gently touch the surface of a macaron, it shouldn’t stick to your finger. This dry skin allows the air within the shell to escape upwards during baking, creating that characteristic ruffled edge, or “foot.” The humidity in your kitchen will affect drying time, so be patient. If your kitchen is very humid, it might take longer.
Step 5: Baking to Perfection and Filling
Preheat your oven to 300°F (150°C). Bake the macarons for 12-15 minutes. The baking time will vary depending on your oven. You’ll know they are done when the tops are firm and don’t wobble when gently nudged. The feet should be well-formed and slightly browned. Let the macarons cool on the baking sheet for about 5-10 minutes before carefully transferring them to a wire rack to cool completely. Once cooled, it’s time for the best part: filling! Pair up your macaron shells by size and pipe or spread your chosen filling onto the flat side of one shell, then sandwich it with another. For best results, let the filled macarons rest in an airtight container in the refrigerator for at least 24 hours. This allows the flavors to meld and the shells to soften slightly, creating that perfect chewy texture. Enjoy your homemade French macarons!
Conclusion:
And there you have it – your ultimate guide to crafting perfect French macarons! I hope you’re feeling inspired to embark on this delightful baking adventure. This French Macaron Recipe is truly special because it breaks down a notoriously tricky treat into manageable steps, offering the promise of those signature delicate shells and luscious fillings that are both beautiful and incredibly delicious. The satisfaction of pulling a batch of perfectly formed, subtly crisp yet delightfully chewy macarons from your oven is truly unparalleled.
Imagin extracte these exquisite little treats gracing your next tea party, elegant dessert table, or even as a thoughtful homemade gift. They pair wonderfully with a cup of coffee or tea, and their vibrant colors make any occasion feel a little more festive. Don’t be afraid to explore variations! Consider infusing your shells with cocoa powder for chocolate macarons, adding a pinch of lavender for a floral twist, or experimenting with different food colorings to match your theme. The possibilities for flavor combinations with your fillings are virtually endless, from classic raspberry or vanilla bean to decadent salted caramel or tangy lemon curd.
I genuinely encourage you to give this recipe a try. While macarons can seem intimidating, with a little patience and attention to detail, you can absolutely achieve bakery-worthy results in your own kitchen. Embrace the process, enjoy the learning curve, and most importantly, savor the incredibly rewarding outcome!
Frequently Asked Questions:
Why are my macaron shells cracking?
Cracking often happens if the oven temperature is too high, or if the meringue isn’t stiff enough. Ensure your oven is accurately calibrated and your egg whites are whipped to stiff peaks. Also, letting the shells rest until a skin forms before baking is crucial to prevent cracking.
My macarons are hollow. What went wrong?
Hollow macarons are usually a sign of an under-whipped meringue or over-mixing the batter. Make sure your meringue is glossy and holds firm peaks. When folding in the dry ingredients, be careful not to overmix; stop when the batter flows like lava and forms a ribbon that slowly disappears back into the mixture (the ‘macaronage’ stage).
French Macaron Recipe
A classic French macaron recipe with delicate meringue shells and a smooth vanilla buttercream filling.
Ingredients
-
150 grams sifted super-fine almond flour
-
180 grams powdered sugar
-
1/4 teaspoon salt
-
120 grams large egg whites
-
60 grams granulated sugar
-
4 drops liquid-gel food coloring
-
1 teaspoon pure vanilla extract
-
Vanilla Buttercream Frosting or your choice of filling
Instructions
-
Step 1
Whisk together the sifted almond flour, powdered sugar, and salt. Sift this mixture through a fine-mesh sieve at least twice to ensure a smooth batter. -
Step 2
In a clean, dry bowl, whip the egg whites until foamy. Gradually add the granulated sugar, one tablespoon at a time, while continuing to whip until stiff, glossy peaks form. -
Step 3
Add the food coloring and vanilla extract to the meringue and gently fold it in until evenly distributed. Be careful not to overmix. -
Step 4
Add about one-third of the almond flour mixture to the meringue and fold it in using a spatula. Continue adding the remaining almond flour mixture in two more additions, folding until the batter reaches a lava-like consistency that flows slowly off the spatula in a ribbon. -
Step 5
Transfer the batter to a piping bag fitted with a round tip. Pipe small rounds onto baking sheets lined with parchment paper or silicone mats, leaving space between each macaron. -
Step 6
Tap the baking sheets firmly on the counter to release any air bubbles. Let the macarons sit at room temperature for 30-60 minutes, or until a skin forms on the surface. -
Step 7
Preheat your oven to 300°F (150°C). Bake the macarons for 12-15 minutes, rotating the baking sheets halfway through. The macarons should have developed ‘feet’ and be firm to the touch. -
Step 8
Let the macarons cool completely on the baking sheets before carefully removing them. Match up similarly sized macaron shells and fill with your chosen frosting or filling.
Important Information
Nutrition Facts (Per Serving)
It is important to consider this information as approximate and not to use it as definitive health advice.
Allergy Information
Please check ingredients for potential allergens and consult a health professional if in doubt.