Quick Pickled Red Onions- Easy & Flavorful Recipe
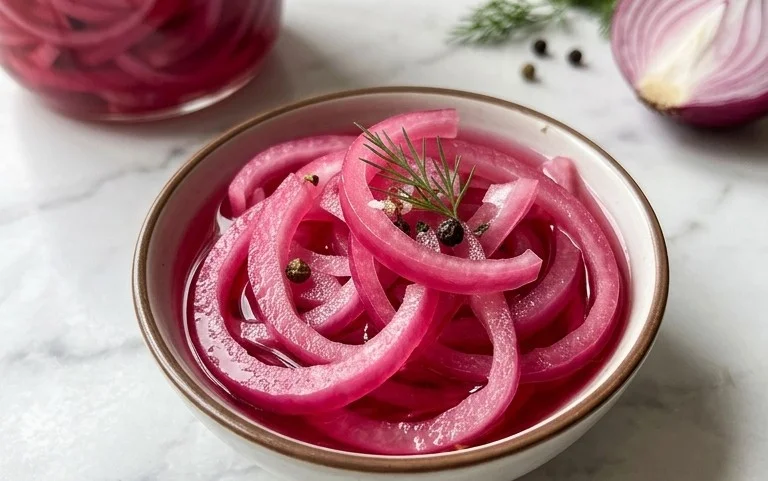
Pickled red onions are an absolute game-changer in my kitchen, and I’m thrilled to share how I whip them up! If you’ve ever wondered what gives those vibrant, ruby-red strands that perfect zesty pop on tacos, salads, or even burgers, then you’ve found your answer. These aren’t just any pickled red onions; they’re a quick and easy way to elevate everyday meals into something truly special. What I love most is their incredible versatility – they add a bright, tangy crunch that cuts through richness and adds a beautiful visual appeal. Forget the store-bought versions that can sometimes be overly sweet or lack that punch; homemade pickled red onions are superior in every way, offering a delightful balance of vinegar, sweetness, and a hint of spice. They’re the secret ingredient that will have everyone asking, “What’s that amazing flavor?”
Pickled Red Onions
There are few condiments that can elevate a dish quite like a vibrant, tangy pickled red onion. Their bright pink hue is as beautiful as their flavor is punchy, adding a delightful zing to everything from tacos and burgers to salads and sandwiches. Forget the store-bought versions that can sometimes be overly sweet or lacking in depth; making your own pickled red onions is incredibly simple, satisfying, and allows you to customize the flavor to your liking. This recipe is a fantastic gateway into the world of pickling, requiring minimal equipment and just a little bit of patience. The reward is a jar of pure, flavorful magic that will transform your everyday meals into something special.
I love having a jar of these on hand in my refrigerator. They are incredibly versatile. I’ve sprinkled them on avocado toast for a breakfast boost, piled them high on grilled chicken sandwiches, and even used them as a bright garnish for a hearty lentil soup. The subtle heat from the optional red pepper flakes, combined with the sweetness and the sharp tang of the vinegar, creates a perfectly balanced flavor profile. They also have a wonderful crisp-tender texture that contrasts beautifully with softer foods. So, let’s dive in and create this kitchen staple!
Ingredients:
Preparing Your Onions
The first step is to prepare your red onions. You want to slice them thinly so they pickle evenly and are easy to eat. Aim for a thickness of about 1/8 to 1/4 inch. A mandoline slicer is your best friend here for achieving consistent slices, but a sharp knife and a steady hand will also do the trick. Don’t worry if some slices are slightly thicker or thinner; it won’t significantly impact the final outcome. Once sliced, you can place the onion rings directly into a clean, heat-proof jar or bowl. I prefer using a jar that has a tight-fitting lid, as it makes storing them in the refrigerator very convenient. If you’re using a bowl, you’ll need to transfer them to a storage container later.
Crafting the Brine
Next, we’ll create the flavorful brine that will transform our humble red onions. In a medium saucepan, combine the water, white vinegar, sugar, and sea salt. If you’re opting for a touch of heat, now is the time to add the red pepper flakes. Stir everything together well, ensuring the sugar and salt begin extract to dissolve. Place the saucepan over medium heat. We don’t need to bring this to a rolling boil, but rather heat it until the sugar and salt are completely dissolved and the mixture is steaming. This process helps to meld the flavors together before they even touch the onions. Gentle heating is key here; we’re not cooking the onions in the brine, just preparing the liquid for them.
Pouring and Infusing
Once the brine is hot and the sugar and salt have fully dissolved, carefully remove the saucepan from the heat. Now, it’s time to pour this aromatic liquid over your sliced red onions in the jar or bowl. Make sure to pour slowly and evenly, allowing the hot brine to surround every onion ring. As you pour, you’ll notice the onions starting to soften and their vibrant color intensifying. If you’re using a jar, you might need to gently press down on the onions with a spoon to ensure they are fully submerged in the brine. This is crucial for proper pickling. The heat from the brine will begin extract to “cook” the onions, softening them and allowing them to absorb the pickling flavors.
The Waiting Game: Cooling and Marinating
This is where patience comes into play, but it’s a small price to pay for such a delicious reward. Allow the onions and brine mixture to cool down at room temperature. This can take about an hour to an hour and a half, depending on your kitchen’s temperature. As it cools, you’ll see the color of the onions deepen to a beautiful, jewel-toned pink. Once the mixture has reached room temperature, tightly seal the jar (if you used one) or transfer the onions and brine to an airtight container. Place the container in the refrigerator. For the best flavor, I recommend letting them pickle for at least a few hours, but ideally, overnight. The longer they sit, the more the flavors will develop and the more tender the onions will become.
Storage and Enjoyment
Your delicious homemade pickled red onions are now ready to be enjoyed! They will keep in the refrigerator for about 2 to 3 weeks, though they tend to be best within the first week or so as their crispness gradually softens. To use them, simply drain off the brine (you can save the brine too; it’s surprisingly tasty in salad dressings!) and add the pickled onions to your favorite dishes. They add a wonderful pop of flavor and color to tacos, nachos, salads, grilled meats, sandwiches, burgers, and even as a garnish for roasted vegetables. Experiment with different vinegars or sugars to create your own unique variations. You can try apple cider vinegar for a slightly fruitier tang or maple syrup for a different kind of sweetness. The possibilities are endless, and the satisfaction of creating your own versatile condiment is immense. Enjoy the bright, zesty addition they bring to your culinary creations!
Conclusion:
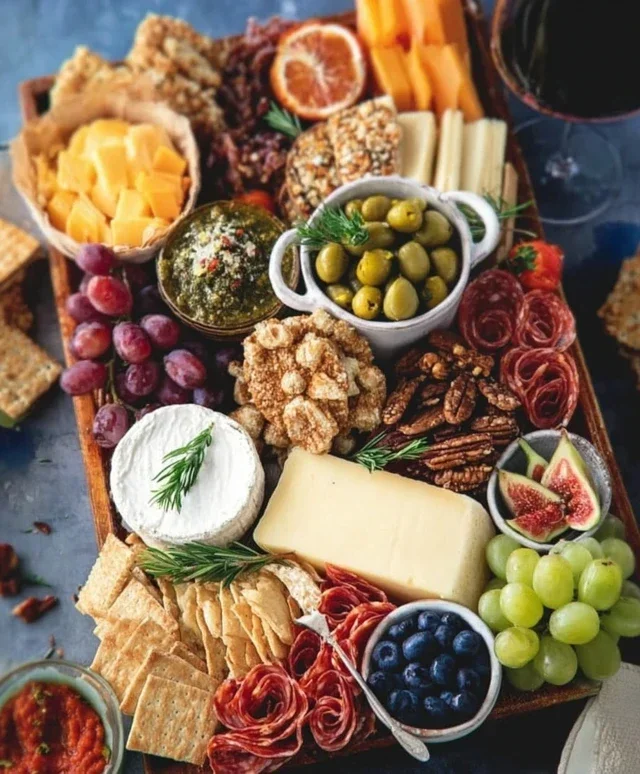
There you have it! These pickled red onions are an absolute game-changer in the kitchen. They’re incredibly easy to make, bursting with vibrant flavor, and add a beautiful pop of color and tangy crunch to just about anything. The simple combination of red grape juice vinegar, sugar, and salt transforms humble onions into a versatile condiment that elevates salads, sandwiches, tacos, burgers, and even charcuterie boards. I truly believe everyone should have a jar of these beauties on hand!
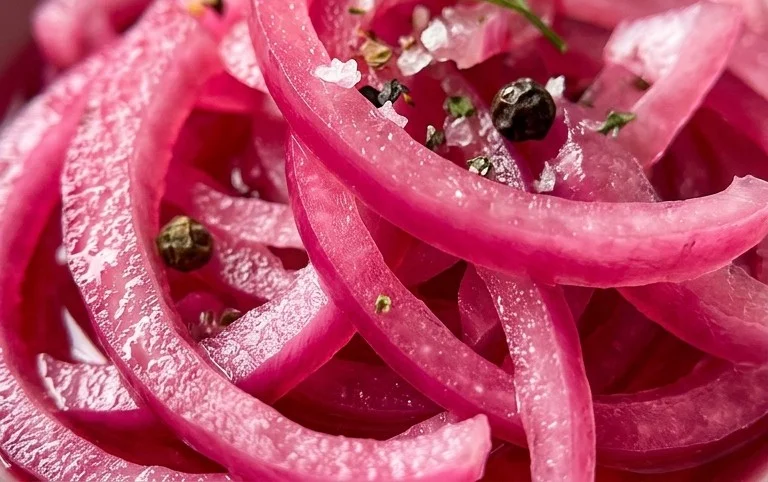
Don’t be afraid to experiment with serving suggestions – their bright acidity cuts through rich dishes wonderfully. You can also get creative with variations. Try adding a pinch of red pepper flakes for a little heat, a bay leaf for an extra layer of complexity, or a few peppercorns. The possibilities are endless! So, gather your ingredients, give this recipe a try, and prepare to be amazed by how these simple pickled red onions can transform your meals. You won’t regret it!
Frequently Asked Questions:
How long do pickled red onions last?
Properly stored in an airtight container in the refrigerator, these pickled red onions can last for 2 to 3 weeks. The flavor actually gets even better as they meld!
Can I use a different type of vinegar?
Absolutely! While red grape juice vinegar provides a classic tang, you can experiment with apple cider vinegar for a slightly sweeter profile, or white grape juice vinegar for a cleaner taste. Just be mindful that different vinegars may slightly alter the color and overall flavor.
What if I don’t have red onions?
While red onions offer the most vibrant color and a slightly milder sweetness, you can technically pickle yellow or white onions. However, the visual appeal won’t be the same, and the flavor profile will be a bit different. Red onions are highly recommended for the best results.
Quick Pickled Red Onions
A simple and versatile recipe for quick pickled red onions, perfect for adding a tangy crunch to sandwiches, salads, tacos, and more.
Ingredients
-
2 medium red onions ((or 3 small ones))
-
1 1/4 cup water
-
1 1/4 cup white vinegar
-
3 tbsp sugar
-
1 tbsp sea salt
-
1/4-1/2 tsp red pepper flakes ((optional))
Instructions
-
Step 1
Thinly slice the red onions. A mandoline is helpful for uniform slices. -
Step 2
In a small saucepan, combine water, white vinegar, sugar, and sea salt. -
Step 3
Heat the mixture over medium heat, stirring until the sugar and salt are dissolved. Do not boil. -
Step 4
Place the sliced red onions into a heatproof jar or bowl. If using, add the red pepper flakes. -
Step 5
Pour the warm brine over the onions, ensuring they are fully submerged. -
Step 6
Let the onions cool to room temperature, then cover and refrigerate. They will be ready to eat in about 30 minutes, but are best after a few hours.
Important Information
Nutrition Facts (Per Serving)
It is important to consider this information as approximate and not to use it as definitive health advice.
Allergy Information
Please check ingredients for potential allergens and consult a health professional if in doubt.