Easy Homemade Bread Recipe – Perfect Loaf Every Time
Homemade bread is more than just food; it’s an experience, a sensory journey that begin extracts the moment you start mixing the ingredients. There’s a primal satisfaction, a comforting ritual, in transforming simple flour, water, yeast, and salt into something so wonderfully delicious. Think about it: the aroma that fills your kitchen as it bakes, the gentle crackle of the crust as you slice into it, and that first impossibly soft, slightly chewy bite. It’s no wonder people fall head over heels for homemade bread. It’s a testament to patience and love, a tangible reward for a little effort. This isn’t just about sustenance; it’s about creating a warm, inviting atmosphere, sharing a piece of yourself with loved ones, and rediscovering the simple joy of honest, wholesome food. Today, we’re going to embark on the delightful adventure of creating our very own loaf of incredible homemade bread.

Homemade Bread
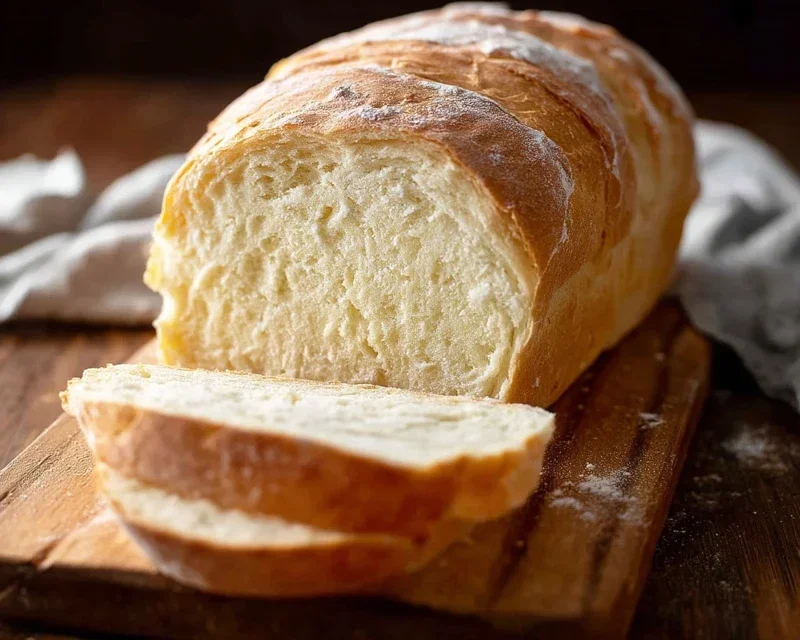
There’s a unique satisfaction that comes from pulling a warm, crusty loaf of homemade bread from your oven. The aroma alone is enough to fill your home with a comforting embrace, and the taste? Well, it’s simply incomparable to anything store-bought. Making bread from scratch might seem daunting, but I promise you, it’s one of the most rewarding culinary adventures you can embark on. This recipe is my go-to for a consistently delicious, soft-crum extractbed loaf with a beautiful golden crust. It’s a fundamental recipe that will build your confidence and provide you with a foundation for countless other bread creations. Let’s get our hands floury and create something truly special!
Ingredients:
Getting Started: Activating the Yeast
The first step in creating our beautiful loaf is to awaken the yeast. In a large mixing bowl, combine the warm water and your chosen sweetener – either honey or sugar. The water temperature is crucial here. Too hot, and you’ll kill the yeast; too cool, and it won’t activate properly. Aim for that sweet spot between 105 and 115 degrees Fahrenheit. You can test this by dipping your clean finger in – it should feel comfortably warm, not hot. Once the water and sweetener are combined, sprinkle the active dry yeast over the surface. Don’t stir it in just yet. Let it sit for about 5 to 10 minutes. You’ll know it’s ready when you see a foamy, bubbly layer form on top. This “bloom” signifies that your yeast is alive and ready to work its magic, giving our bread its rise. If you don’t see this foam, your yeast might be old or the water temperature was off, and it’s best to start again.
Mixing the Dough
Once your yeast is happily frothing, it’s time to add the remaining wet ingredients and the salt. Pour in the oil and the salt, and then, using a sturdy spoon or a dough whisk, gradually begin extract to incorporate the flour. Start by adding about 4 cups of the flour. Mix until the ingredients are just combined and a shaggy dough begin extracts to form. Now comes the point where you might need to get your hands a little dirty – in the best way possible!
Kneading: Developing the Gluten
This is where the real magic of bread making happens: kneading. This process develops the gluten in the flour, which gives bread its structure and chew. If you’re using a stand mixer with a dough hook, now’s the time to attach it and knead on a low speed. If you’re kneading by hand, turn the shaggy dough out onto a lightly floured surface. Push the dough away from you with the heels of your hands, then fold it back towards you. Rotate the dough a quarter turn and repeat. You’ll add more flour, a little at a time, only as needed to prevent sticking. The dough will initially be sticky and a bit unruly, but as you knead, it will become smoother, more elastic, and less sticky. You’re looking for a dough that is smooth to the touch and springs back when you gently poke it. Knead for about 8 to 10 minutes by hand, or 6 to 8 minutes in a stand mixer. The goal is a supple, elastic ball of dough that feels alive.
The First Rise: Patience and Warmth
Now that our dough is beautifully kneaded, it needs a warm, cozy place to rest and rise. Lightly grease a clean bowl with a little oil. Place the dough in the bowl, turning it once to coat all sides with the oil. Cover the bowl tightly with plastic wrap or a damp kitchen towel. Find a warm, draft-free spot for your dough to rise. This could be on top of your refrigerator, in a slightly warmed (but turned off!) oven, or simply in a sunny spot in your kitchen. Let the dough rise for about 1 to 1.5 hours, or until it has doubled in size. You’ll know it’s ready when a gentle poke with your finger leaves an indentation that slowly springs back. This first rise is crucial for developing flavor and texture.
Shaping and the Second Rise
Once the dough has doubled, gently punch it down to release the air. Turn the dough out onto a lightly floured surface again. Now, you can shape your loaf. For a classic boule (round loaf), gently shape the dough into a ball, tucking the edges underneath. For a batard (oval loaf), shape it into an elongated oval. You can also use a loaf pan for a sandwich-style bread. If using a loaf pan, grease it well and place the shaped dough inside. Place your shaped loaf on a baking sheet lined with parchment paper or in your prepared loaf pan. Cover it loosely with plastic wrap or a kitchen towel and let it rise for a second time, for about 30 to 45 minutes, until it has nearly doubled in size again. This second rise will give our bread its final, airy structure.
Baking to Golden Perfection
Preheat your oven to 400 degrees Fahrenheit (200 degrees Celsius). If you’re using a baking stone, place it in the oven while it preheats. If you want an extra crispy crust, you can place a shallow pan filled with water on the bottom rack of your oven to create steam. This will help the crust form beautifully. Carefully place your risen loaf into the preheated oven. Bake for 30 to 40 minutes, or until the crust is a deep golden brown and the internal temperature of the bread reaches 200-210 degrees Fahrenheit (93-99 degrees Celsius) when measured with an instant-read thermometer. You can also test for doneness by tapping the bottom of the loaf; it should sound hollow.
Cooling and Enjoying
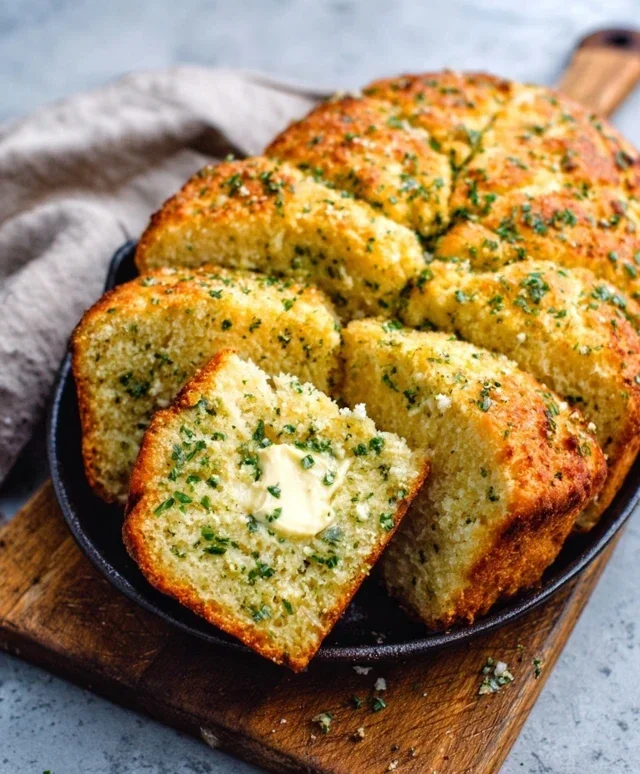
This is perhaps the hardest part: waiting for the bread to cool! Once it’s out of the oven, immediately transfer the loaf to a wire rack to cool completely. This allows the steam to escape and prevents the bottom crust from becoming soggy. Resist the urge to slice into it while it’s still piping hot – it will continue to cook and set as it cools. Once it’s cool enough to handle, slice into your masterpiece and enjoy the fruits of your labor. Spread it with butter, serve it alongside soup, or just enjoy a slice on its own. You’ve just made delicious homemade bread, and that’s something to be incredibly proud of!
Conclusion:
Embarking on the journey of making homemade bread is incredibly rewarding, and this recipe makes it accessible for everyone. The beauty of this recipe lies in its simplicity, yielding a crusty exterior and a soft, airy interior that store-bought loaves simply can’t replicate. Imagin extracte the aroma filling your kitchen as it bakes – it’s a sensory experience that truly elevates your cooking. This versatile bread is perfect served warm with butter, as a base for delicious sandwiches, or alongside your favorite soups and stews. Don’t be afraid to experiment with variations! Add herbs like rosemary or thyme to the dough, or incorporate seeds like sunflower or pumpkin for added texture and flavor. I truly encourage you to try this recipe; the satisfaction of pulling a perfect loaf out of your oven is unparalleled. It’s a fundamental skill that opens up a world of culinary possibilities.
Frequently Asked Questions:
Can I freeze this homemade bread?
Absolutely! Once the loaf has completely cooled, you can slice it and wrap it tightly in plastic wrap, followed by a layer of aluminum foil or a freezer bag. It will keep well for up to 3 months. To enjoy, simply thaw at room temperature or toast slices directly from frozen.
My dough didn’t rise much. What could be wrong?
Several factors can affect dough rise. Ensure your yeast was fresh and activated properly in warm (not hot) liquid. Over-mixing or under-kneading can also be culprits. Lastly, the ambient temperature of your kitchen plays a role; a cooler environment might require a longer proofing time.
What’s the best flour to use for this recipe?
While all-purpose flour works well for a begin extractner, using a bread flour will give you a chewier texture and better rise due to its higher gluten content. Experimenting with different flours is part of the fun!
Homemade Bread
A classic recipe for soft, delicious homemade bread using simple ingredients and a straightforward method. Perfect for sandwiches, toast, or enjoying plain.
Ingredients
-
2 cups warm water (105-115 degrees)
-
1 Tablespoons active dry yeast
-
1/4 cup honey
-
2 teaspoons salt
-
2 Tablespoons canola oil
-
4 cups all-purpose flour
Instructions
-
Step 1
In a large bowl, combine the warm water and honey. Sprinkle the active dry yeast over the top and let it sit for 5-10 minutes until foamy. -
Step 2
Add the salt and canola oil to the yeast mixture. Stir to combine. -
Step 3
Gradually add the flour, about one cup at a time, mixing until a shaggy dough forms. You may not need all 5 cups. -
Step 4
Turn the dough out onto a lightly floured surface and knead for 8-10 minutes until smooth and elastic. Alternatively, use a stand mixer with a dough hook. -
Step 5
Place the dough in a lightly oiled bowl, turning to coat. Cover with plastic wrap and let rise in a warm place for 1-1.5 hours, or until doubled in size. -
Step 6
Punch down the dough and shape it into a loaf. Place it in a greased loaf pan. -
Step 7
Let the dough rise again for another 30-45 minutes, until nearly doubled. Preheat your oven to 375°F (190°C) during this time. -
Step 8
Bake for 30-35 minutes, or until the crust is golden brown and the loaf sounds hollow when tapped. -
Step 9
Remove from the pan and let cool on a wire rack before slicing.
Important Information
Nutrition Facts (Per Serving)
It is important to consider this information as approximate and not to use it as definitive health advice.
Allergy Information
Please check ingredients for potential allergens and consult a health professional if in doubt.