Easy Japanese Tuna Onigiri Quick Recipe
15-min. Easy Japanese Tuna Onigiri are your new best friend for those busy days when hunger strikes but time is a luxury. Have you ever craved something delicious, satisfying, and quintessentially Japanese, but only had a few minutes to spare? This recipe is designed for you! These savory rice balls are a beloved staple in Japan for a reason. They’re incredibly versatile, portable, and offer a delightful burst of flavor and texture in every bite. What makes our 15-min. Easy Japanese Tuna Onigiri so special is the perfect balance of fluffy rice, savory tuna filling, and a hint of saltiness from the nori wrapper. It’s the ultimate quick meal or snack that feels both wholesome and incredibly tasty. You’ll be amazed at how simple it is to create this iconic dish in under 15 minutes. Get ready to impress yourself and anyone lucky enough to share!
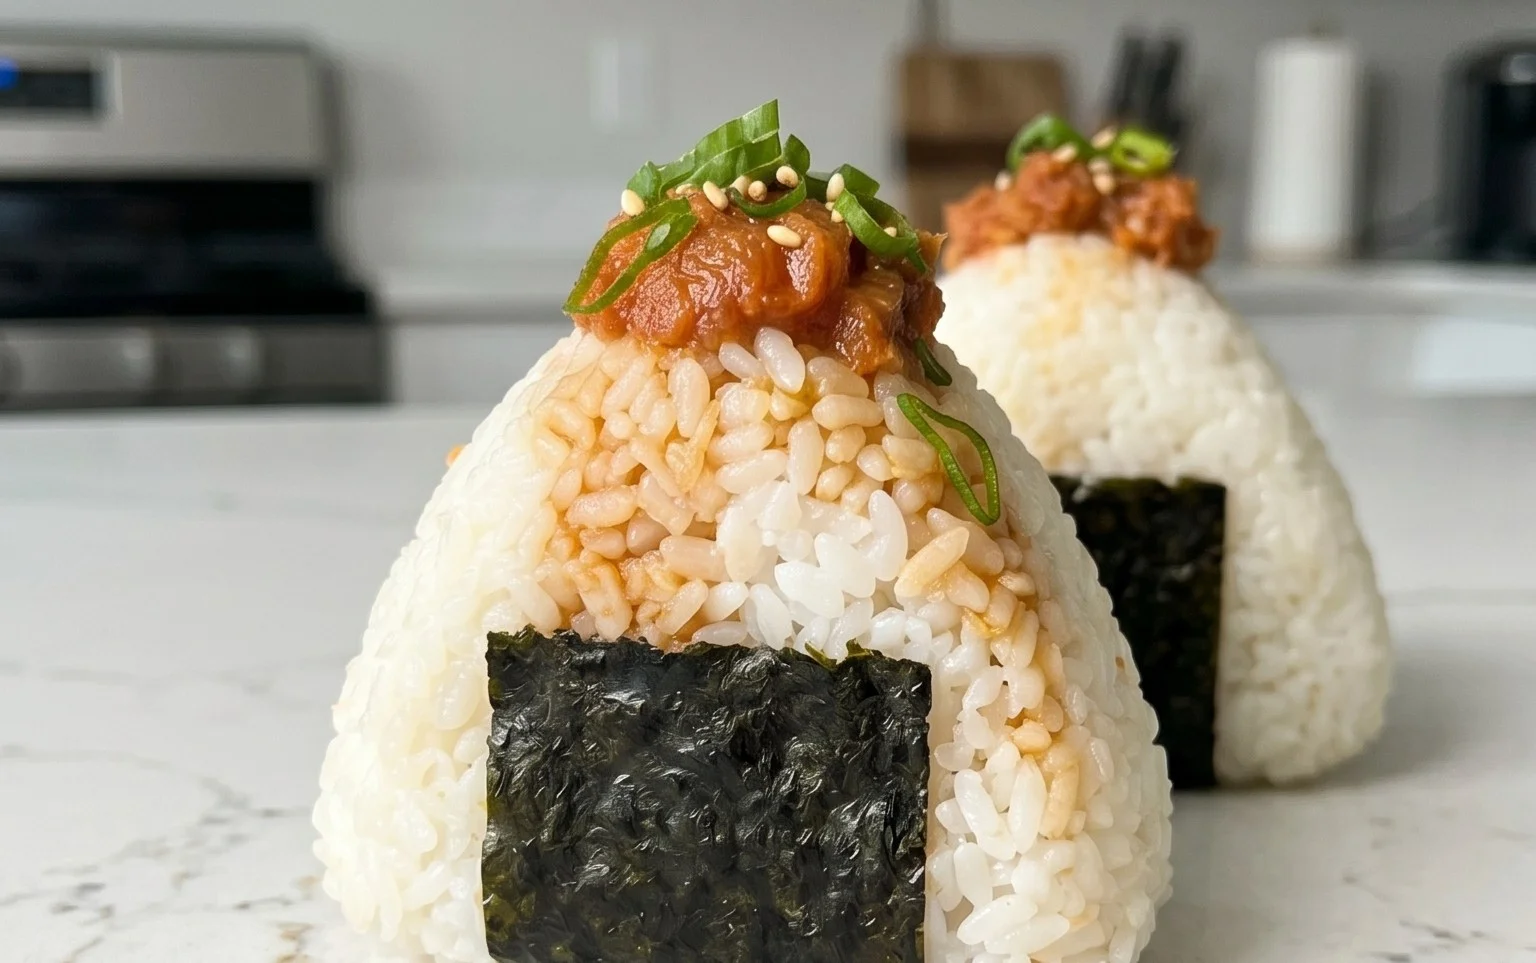
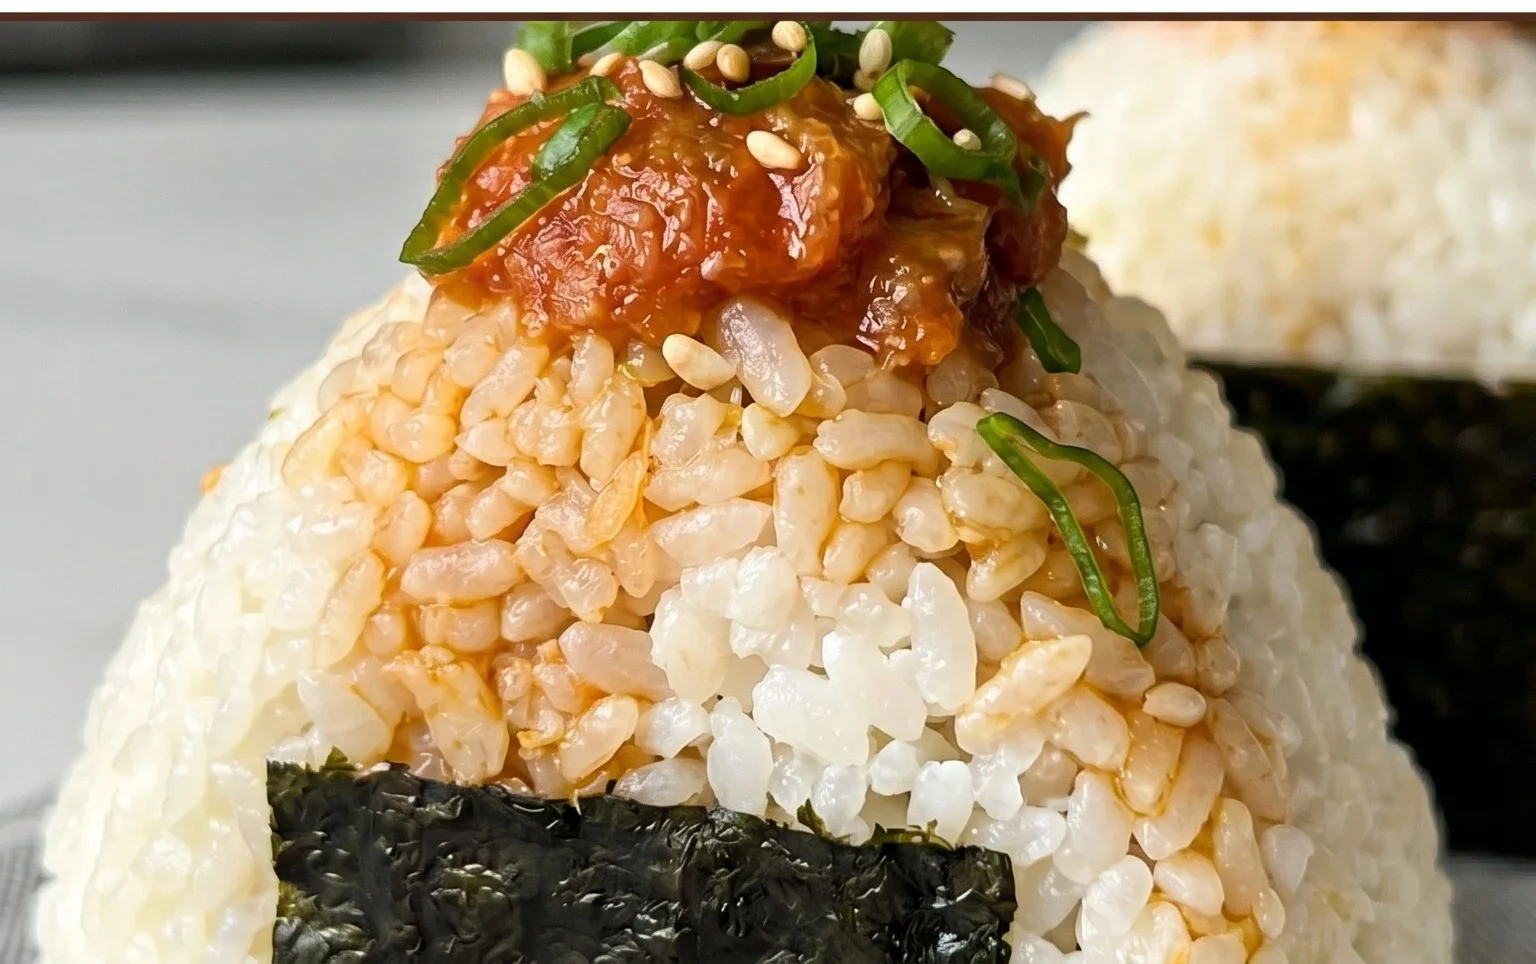
15-Min. Easy Japanese Tuna Onigiri
Onigiri, those delightful Japanese rice balls, are a cornerstone of quick, satisfying meals and snacks. They’re incredibly versatile, offering a perfect canvas for various fillings. Today, we’re diving into one of the simplest and most beloved variations: the Japanese Tuna Onigiri. This recipe is designed for speed and ease, making it ideal for busy weeknights, school lunches, or anytime you need a delicious, portable bite. The combination of savory tuna, creamy mayonnaise, and perfectly seasoned rice, all wrapped in crisp nori, is simply irresistible. You’ll be amazed at how quickly you can whip these up, transforming humble rice into a gourmet treat.
Ingredients:
Cooking Instructions:
Step 1: Prepare the Tuna Filling
Begin extract by preparing the star of our filling: the canned tuna. Open your can of tuna and drain it thoroughly. If you’re using tuna packed in oil, draining it well is crucial to prevent the onigiri from becoming greasy. For tuna packed in water, ensure you press out as much liquid as possible. Once drained, transfer the tuna to a small bowl. Add the Japanese mayonnaise to the bowl. Japanese mayonnaise, with its richer, more umami flavor and slightly tangier profile, is a fantastic choice for onigiri, but regular mayonnaise will work perfectly well if that’s what you have on hand. Mix the tuna and mayonnaise together until well combined, creating a creamy, cohesive filling. Taste a small amount and adjust the mayonnaise if you prefer a creamier consistency. You can also add a tiny pinch of salt and pepper here if you like, but the salt in the rice often suffices.
Step 2: Season and Prepare the Rice
Next, focus on the rice. For the best onigiri, short-grain Japanese rice is highly recommended. It’s sticky enough to hold its shape beautifully. If you’ve just cooked fresh rice, let it cool slightly until it’s warm but not scalding hot. This temperature is ideal for shaping. If you’re using leftover rice, gently reheat it until it’s warm. In a separate small bowl, combine the 1/2 teaspoon of salt with a tablespoon or two of warm water and stir until the salt is dissolved. This ensures the salt is evenly distributed. Gradually drizzle this saltwater over the warm rice while gently fluffing it with a rice paddle or a fork. The goal is to season every grain without mushing the rice. Be gentle as you mix; you want each grain to remain distinct yet slightly sticky.
Step 3: Shape the Onigiri
This is where the magic happens! Have a small bowl of water and a little extra salt handy. This will prevent the rice from sticking to your hands. Wet your hands thoroughly with water, then sprinkle a little salt onto your palms and rub them together. Take a portion of the seasoned rice, about 1/2 cup to 3/4 cup, and place it in the palm of one hand. Gently press down to flatten it slightly. Create a small well in the center of the rice. Spoon about a tablespoon of the tuna-mayo mixture into this well. Be careful not to overfill, as it can make shaping difficult. Now, bring the edges of the rice up and around the filling, enclosing it completely. Gently cup your hands and begin extract to shape the rice ball. You can form it into a classic triangle, a ball, or even a cylinder. Use a gentle but firm pressure to compact the rice, ensuring it holds its shape without becoming dense or dry. Rotate the onigiri as you shape, using the palms of your hands and fingers to refine the form. If the rice starts sticking to your hands, re-wet them and re-salt.
Step 4: Wrap with Nori
Once you’ve shaped your onigiri, it’s time to add that signature touch of nori. If you’re using full sheets of nori, you can cut them into strips or desired shapes. For a classic triangle onigiri, a rectangular strip about 2 inches wide and 4-5 inches long works well. For smaller onigiri, you might want to cut the nori sheet in half. Lightly dampen one side of the nori strip with water. This helps it adhere to the rice. Wrap the nori around the onigiri. For a triangle, you might wrap it around the base and up two sides, or simply around the bottom. Experiment to see what works best for you. If you’re using half sheets, you can wrap them around the entire onigiri. Press the nori gently to secure it. The moisture from the rice will help the nori stick. If you’re feeling fancy and have sesame seeds, you can sprinkle them onto the rice before or after shaping, or even onto the nori itself.
Step 5: Garnish and Serve
Your delicious Japanese Tuna Onigiri are almost ready to enjoy! If you decided to use sesame seeds, sprinkle them over the onigiri now. They add a lovely visual appeal and a subtle nutty flavor. These onigiri are best enjoyed fresh, while the rice is still warm and the nori is crisp. However, they also make excellent portable snacks for later. You can pack them in a bento box or a reusable container for lunch or a picnic. They pair wonderfully with a side of pickled gin extractger, some edamame, or even just a simple cup of green tea. Don’t be afraid to get creative with your onigiri. Once you’ve mastered this basic tuna version, you can experiment with other fillings like salmon flakes, pickled plums (umeboshi), or seasoned vegetables. The possibilities are endless, and the process is so quick and satisfying. Enjoy your homemade, 15-minute Japanese Tuna Onigiri!
Conclusion:
And there you have it – a truly delightful and incredibly quick way to whip up delicious Japanese Tuna Onigiri in just 15 minutes! I hope you’ve enjoyed learning how simple it is to create these versatile rice balls. The beauty of this recipe lies in its speed and ease, making it perfect for busy weeknights, quick lunches, or even a satisfying snack. The combination of fluffy rice, savory tuna, and a hint of salt is simply irresistible and so customizable. Don’t be afraid to experiment with different fillings and seasonings to make these onigiri your own!
These Japanese Tuna Onigiri are fantastic on their own, but they also pair wonderfully with a light miso soup, a side of pickled gin extractger, or even a crisp green salad. For variations, consider adding a drizzle of Kewpie mayonnaise for extra creaminess, a sprinkle of furikake for added flavor and texture, or even some finely chopped scallions for a fresh bite. You could also try incorporating other ingredients like corn kernels or a tiny bit of sriracha for a spicy kick. I truly encourage you to give this easy recipe a try – it’s a fantastic introduction to the world of Japanese home cooking and a guaranteed crowd-pleaser!
Frequently Asked Questions:
Can I make the rice ahead of time for Japanese Tuna Onigiri?
Yes, absolutely! You can cook your sushi rice in advance and let it cool completely before shaping. Store it in an airtight container in the refrigerator for up to 2 days. When you’re ready to make your onigiri, gently warm the rice slightly before shaping. This can be done in the microwave for a few seconds, or by letting it sit at room temperature for about 20 minutes.
What other fillings can I use for onigiri besides tuna?
The possibilities are endless! Popular fillings include cooked salmon flakes, seasoned kombu (kelp), umeboshi (pickled plum), grilled chicken, or even just plain salt. For a vegetarian option, try seasoned mushrooms or mashed edamame.
How should I store leftover Japanese Tuna Onigiri?
Once cooled, wrap individual onigiri tightly in plastic wrap or place them in an airtight container. They are best enjoyed within 1-2 days. While they can be eaten at room temperature, some people prefer to gently warm them before eating, especially during colder weather.
15-min. Easy Japanese Tuna Onigiri
Quick and simple Japanese rice balls filled with seasoned tuna and mayonnaise, perfect for a light meal or snack.
Ingredients
-
2 cups cooked short grain rice
-
1/2 tsp salt
-
5.29 oz canned tuna (in oil recommended)
-
2 tbsp Japanese mayo
-
2 sheets nori
-
1 tsp sesame seeds (optional)
Instructions
-
Step 1
In a bowl, gently mix the cooked short grain rice with salt. Be careful not to mash the rice. -
Step 2
Drain the canned tuna well. In a separate small bowl, flake the tuna and mix with Japanese mayonnaise. If desired, add a pinch more salt to taste. -
Step 3
Wet your hands with water to prevent sticking. Take a portion of the rice (about 1/2 cup) and flatten it in your palm. -
Step 4
Place a spoonful of the tuna mixture in the center of the flattened rice. Gently fold the rice around the filling to enclose it. -
Step 5
Shape the rice into a triangle or ball using your hands. You can lightly moisten your hands again if needed. -
Step 6
Cut the nori sheets into desired shapes for wrapping or decorating the onigiri. Wrap a piece of nori around the onigiri. -
Step 7
Garnish with sesame seeds if using.
Important Information
Nutrition Facts (Per Serving)
It is important to consider this information as approximate and not to use it as definitive health advice.
Allergy Information
Please check ingredients for potential allergens and consult a health professional if in doubt.