Crispy Chewy Chocolate Chip Cookie Recipe
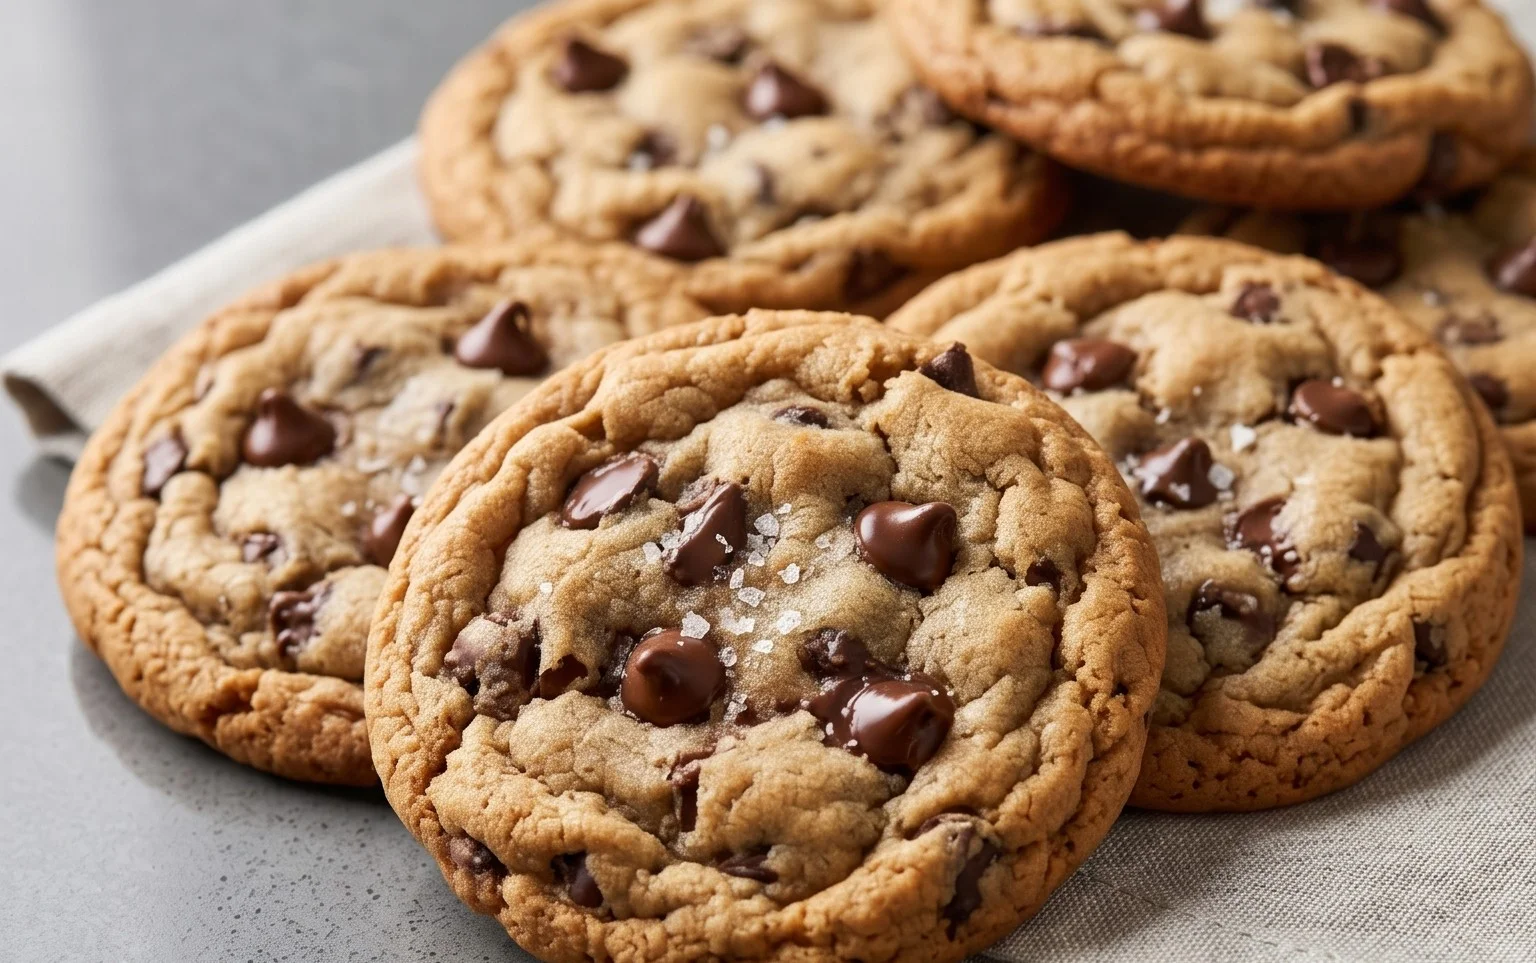
Crispy and chewy chocolate chip cookies are more than just a dessert; they’re a nostalgic embrace, a warm hug in edible form. Who among us hasn’t felt that irresistible pull towards a perfectly baked cookie, its edges promising a satisfying crunch and its center yielding to a delightful chew? It’s this magical duality that makes these treats so universally beloved. We crave that textural contrast – the delicate snap followed by the soft, melt-in-your-mouth goodness. What truly elevates these crispy and chewy chocolate chip cookies from ordinary to extraordinary is a delicate balance of ingredients and a touch of technique. It’s about achieving that golden-brown perfection without sacrificing that essential gooey heart. Get ready to embark on a journey to create the ultimate crispy and chewy chocolate chip cookies that will have everyone beggin extractg for your secret recipe.
Crispy and Chewy Chocolate Chip Cookies
There’s something inherently comforting about a perfectly baked chocolate chip cookie. Not too cakey, not too brittle, but that magical combination of crispy edges and a soft, chewy center. It’s a flavor and texture that transports us back to childhood, to warm kitchens, and to simple joys. Today, we’re diving deep into how to achieve that ultimate cookie nirvana. Forget the store-bought imposters; these homemade beauties are worth every ounce of effort.
The secret to achieving that coveted crispy-chewy balance lies in a few key elements: the right ratio of sugars, the temperature of the butter, and a touch of patience during baking. We’re not reinventing the wheel here, but we are refining it to perfection. So, tie on your apron, preheat your oven, and let’s get ready to create a batch of cookies that will be the talk of the town (or at least your own household).
Ingredients:
Instructions:
Step 1: Prepare Your Dry Ingredients
Begin extract by combining all of your dry ingredients in a medium-sized bowl. This includes the 3 cups of all-purpose flour, the 1 teaspoon of baking soda, and the 3/4 teaspoon of kosher salt. Whisk them together thoroughly. This step is crucial for ensuring that your leavening agent (baking soda) and salt are evenly distributed throughout the flour. An even distribution leads to a more uniform rise and flavor profile in your cookies, preventing any surprise pockets of saltiness or a dough that doesn’t spread as it should. Once combined, set this bowl aside.
Step 2: Cream the Butter and Sugars
In a large mixing bowl, or the bowl of your stand mixer fitted with the paddle attachment, cream together the softened unsalted butter with the packed light brown sugar and the granulated white sugar. You want to beat these together until the mixture is light and fluffy, with no visible streaks of butter. This process, known as creaming, incorporates air into the dough, which contributes to the cookie’s lift and tender texture. Softened butter, not melted, is key here. If your butter is too cold, it won’t cream properly. If it’s melted, your cookies will spread too much and become thin and greasy. Aim for a consistency that looks like pnon-alcoholic ale yellow, whipped cream. This usually takes about 3-5 minutes of beating.
Step 3: Incorporate Wet Ingredients and Flavorings
Once your butter and sugars are beautifully creamed, it’s time to add the eggs and vanilla extract. Add the 2 large eggs one at a time, beating well after each addition until fully incorporated. Don’t rush this step; allowing each egg to emulsify into the creamed mixture helps create a stable dough. Next, add the 2 teaspoons of pure vanilla extract. Vanilla is more than just a scent; it adds depth and complexity to the sweetness of the cookie, enhancing the overall flavor profile. Beat again until everything is just combined. Scrape down the sides of the bowl occasionally to ensure all ingredients are incorporated evenly.
Step 4: Combine Wet and Dry Mixtures
Now it’s time to bring your dry and wet ingredients together. Gradually add the flour mixture to the wet ingredients, mixing on low speed until just combined. Be careful not to overmix at this stage. Overmixing develops the gluten in the flour too much, which can result in tough cookies. You want to mix just until you no longer see any dry streaks of flour. The dough will be thick and somewhat sticky. At this point, gently fold in the 2 1/2 cups of semisweet chocolate chips using a rubber spatula. Make sure the chocolate chips are distributed evenly throughout the dough.
Step 5: Chill the Dough and Prepare for Baking
This is a step that many recipes skip, but it’s vital for achieving those perfect crispy edges and chewy centers. Cover the bowl of cookie dough tightly with plastic wrap and refrigerate for at least 30 minutes, or up to 2-3 days. Chilling the dough solidifies the fat, which prevents the cookies from spreading too much during baking, allowing them to retain their thickness and chegrape juicess. It also allows the flavors to meld and deepen. When you’re ready to bake, preheat your oven to 375°F (190°C). Line baking sheets with parchment paper. This prevents sticking and makes for easier cleanup.
Step 6: Bake and Finish
Scoop rounded tablespoons of chilled dough onto the prepared baking sheets, leaving about 2 inches between each cookie to allow for spreading. For an extra special touch, lightly sprinkle the tops of the dough balls with the 1 teaspoon of flaked sea salt (if using). This optional step creates a delightful contrast between the sweet cookie and a hint of salty crunch. Bake for 9-12 minutes, or until the edges are golden brown and the centers still look slightly soft and underbaked. They will continue to cook on the hot baking sheet. Let the cookies cool on the baking sheets for 5-10 minutes before transferring them to a wire rack to cool completely. This cooling period on the sheet is crucial for allowing the cookies to set properly, ensuring that chewy center. Enjoy these delightful cookies warm, or store them in an airtight container at room temperature for up to 3 days. They are truly a treat!
Conclusion:
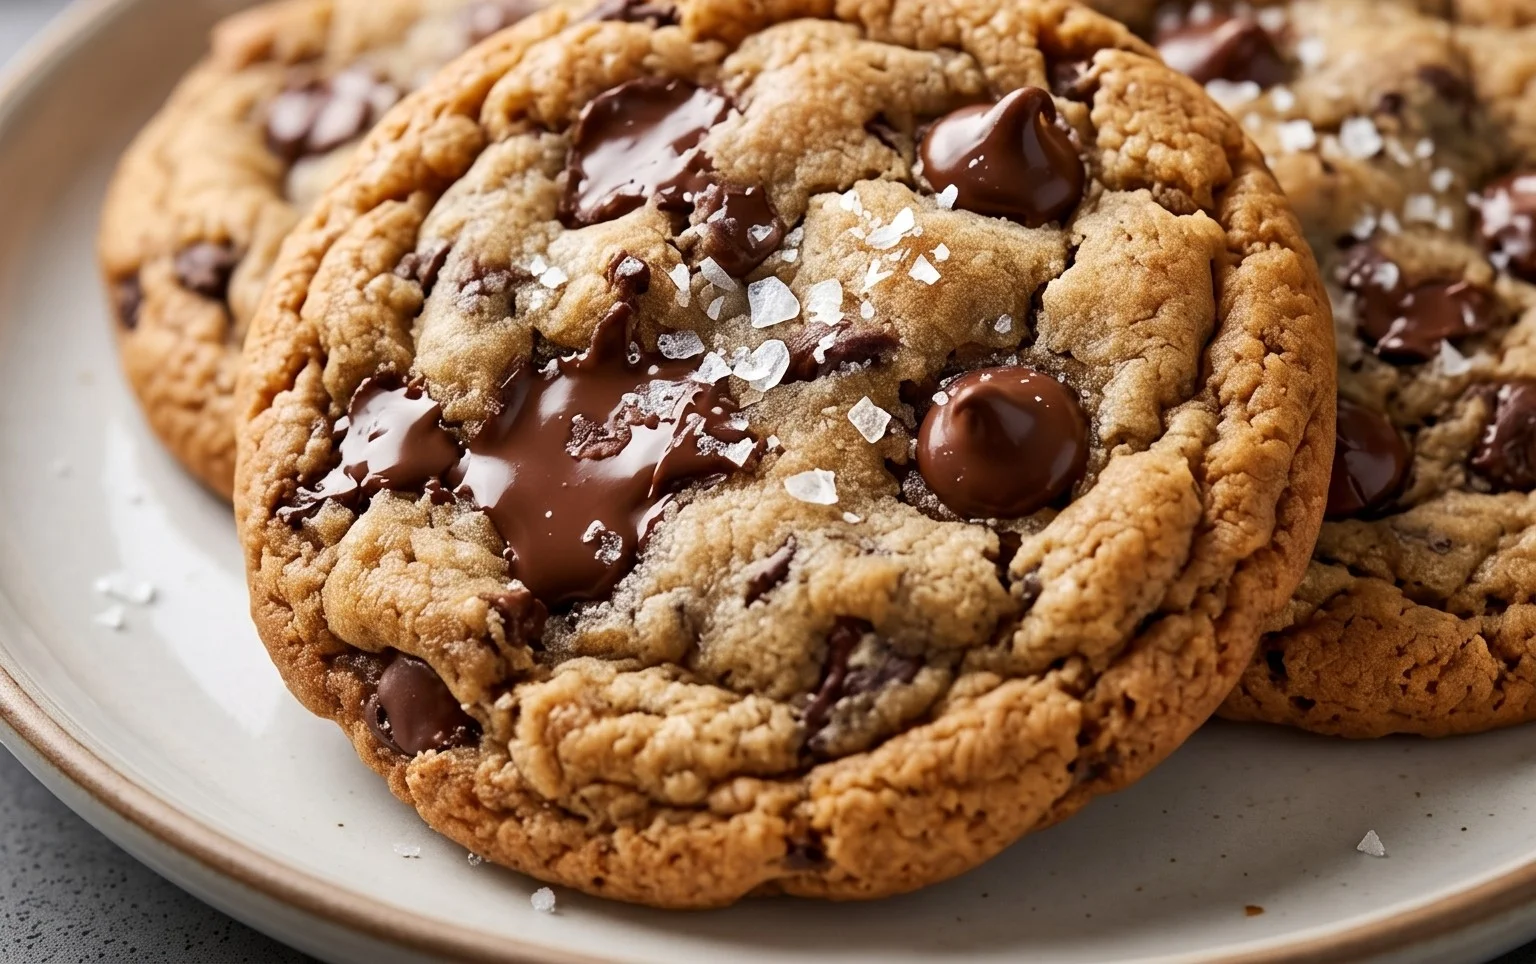
So there you have it – the ultimate guide to achieving those coveted crispy and chewy chocolate chip cookies! This recipe is a winner because it perfectly balances that delightful crispy edge with a soft, gooey center that’s pure cookie perfection. The secret lies in the specific ingredient ratios and the baking time, ensuring you get that irresistible texture every single time. These cookies are wonderfully versatile, making them ideal for any occasion. Enjoy them warm from the oven with a glass of cold milk for a classic indulgence, or let them cool completely for a more robust crunch. They also make fantastic gifts or a delightful addition to any dessert spread. Don’t be afraid to get creative! You can easily swap out milk chocolate for dark or white chocolate chips, add a sprinkle of sea salt on top before baking for a gourmet touch, or even fold in chopped nuts for added texture. I wholeheartedly encourage you to try this recipe; I’m confident you’ll be delighted with the results and find yourself baking batch after batch!
Frequently Asked Questions:
Why aren’t my cookies as chewy as yours?
Chegrape juicess often comes down to the sugar ratios and the amount of butter. Using more brown sugar than white sugar contributes to a chewier texture. Also, be careful not to overbake! Pulling them out when the edges are set but the centers still look a little soft is key. Letting them cool on the baking sheet for a few minutes will allow them to finish cooking and achieve that perfect chewy center.
Can I freeze the cookie dough?
Absolutely! This dough freezes beautifully. Scoop your cookie dough balls onto a baking sheet and freeze them until solid. Then, transfer them to a freezer-safe bag or container. When you’re ready to bake, you can bake them directly from frozen, just add a couple of extra minutes to the baking time. This is a fantastic way to have crispy and chewy chocolate chip cookies ready whenever a craving strikes!
My cookies spread too much. What went wrong?
Excessive spreading can happen for a few reasons. Ensure your butter is softened, not melted. Melted butter can cause cookies to spread too quickly. Also, chilling the dough for at least 30 minutes before baking can significantly help prevent over-spreading. This allows the fats to firm up, resulting in thicker, chewier cookies.
Crispy and Chewy Chocolate Chip Cookies
Classic chocolate chip cookies with perfectly crispy edges and a delightfully chewy center.
Ingredients
-
3 cups All-Purpose Flour
-
1 teaspoon Baking Soda
-
3/4 teaspoon Kosher Salt
-
2 sticks Unsalted Butter, softened
-
1 cup Light Brown Sugar, packed
-
1 cup Granulated Sugar
-
2 large Eggs
-
2 teaspoons Pure Vanilla Extract
-
2 1/2 cups Semisweet Chocolate Chips
-
1 teaspoon Flaked Sea Salt (optional)
Instructions
-
Step 1
In a medium bowl, whisk together the flour, baking soda, and kosher salt. Set aside. -
Step 2
In a large bowl, cream together the softened butter, brown sugar, and granulated sugar until light and fluffy. -
Step 3
Beat in the eggs one at a time, then stir in the vanilla extract. -
Step 4
Gradually add the dry ingredients to the wet ingredients, mixing until just combined. Do not overmix. -
Step 5
Stir in the semisweet chocolate chips. -
Step 6
Drop rounded tablespoons of dough onto ungreased baking sheets, spacing them about 2 inches apart. If using, sprinkle with flaked sea salt. -
Step 7
Bake for 9 to 11 minutes, or until the edges are golden brown and the centers are still slightly soft. -
Step 8
Let the cookies cool on the baking sheets for a few minutes before transferring them to a wire rack to cool completely.
Important Information
Nutrition Facts (Per Serving)
It is important to consider this information as approximate and not to use it as definitive health advice.
Allergy Information
Please check ingredients for potential allergens and consult a health professional if in doubt.